


Did you guess my project for week one over on One Month to Win It??? Here's the post from the contest:
I'll be honest, I've NEVER worked in burlap before. What's that? Did I miss the memo about how tres trendy burlap is in the craft world? No, no... in fact I bought burlap in an array of colors. I've had said burlap on my fabric shelf for about a year now awaiting... something. Some stroke of genius. So I was glad for this chance to bust it out for the first time.
But when I see burlap, my first thought is FALL, not spring and definitely not summer. I really wanted to do a project that was timely and TIMELESS - something I could use going into summer, but would still carry over into Fall as well. I thought and thought and thought... (and then had to rush and rush and rush to get it done...)
You know what my favorite part of summer is? Well, besides the absence of snow, wind and bluster... and aside from the sunshine and much needed vitamin D... my favorite part of summer is PICNICS! I have loved picnics since I was a little girl eating cucumber and cheese sandwiches with my mom at the park. There is NOTHING like a picnic to enjoy the easy breeziness of summer. And what do you need for any perfect picnic? A picnic basket, sure, but this too:

Nope. That's not some strange attempt at a burlap purse. That, my friends, is a perfectly portable, easily cleanable, tres trendy burlap picnic blanket with blanket weights.
Lace trim adds the perfect romantic and old-worldy charm to this sewn burlap picnic must-have. The weights are shaped like leaves and sport grommets - as does the edge of the blanket - for easy on and off. Twine is perfect for attaching the weights to the blanket - and complements the rustic feel. This twine mimics the twine wrapped lace handle used to tote the blanket. Spread it out on the table, on the grass or even on the beach! With the handy weights that blanket won't trail off into the sunset or, worse yet, flip dirt and grime all over your food. Need something to weigh down your napkins, plates and cups? We all hate when those start flying. Just detach one of the smaller leaves to do the trick.

It's stylish, oh-so easy to wipe down when finished, and folds up into a tiny tote by tucking it all into the secret pocket on the back. The leaves fit nicely inside the pocket as well, so everything is kept together.
Now go out there and enjoy the sunshine - in style!

TUTORIAL: (Wait, first; do not judge my horrible pictures. Tis the curse of the basement "craft room." Yes I know the importance of beautiful pictures in posts. No, that isn't always possible.)
You'll need:
burlap in different colors
16 grommets
twine
rice (or beans, etc. Some kind of filler)
card stock (for a funnel)
lace
sewing machine
Hot glue gun
Measure your table and your main burlap color. Or, you can do like I did and skip the measuring and just lay it on your table and cut around it. You may want to iron it - like I did NOT.

Now, you'll make your leaves out of your colored burlap - I used two different colors for each leaf. You'll first need to make four LARGE leaves for the corners of your tablecloth. Just pick two colors, lay them out one on top of the other, fold them up into fourths together and cut out a leaf shape from ALL the layers. I just freehanded it, but you could trace a template.

My large leaves were about this large:

Now, lay out all your other color combos and cut smaller leaf shapes. You'll need only FOUR other pairs of smaller leaves - two for each side of the table cloth - so ignore all those other leaves in the picture. I laid them out next to a large leaf for size comparison.

Now, you'll sew the vein pattern on each side of each leaf separately. You don't want to do the two sides of one leaf together, or you won't be able to fill them with rice well. So, separate your leaves, but keep them in some kind of order so you remember which sides go together and in which way. Then, start at the straight end and sew up the middle, stopping a few inches from the tip. Go back and sew and backsew out at an angle from the middle stitch just randomly for the smaller veins.

When you're done, it looks a little like this:

And you'll do the other side of the leaf like this:

Now, you'll put WRONG sides together and stitch all the way around the outside of the leaf, just about 1/4 inch in from the edge. Make sure to start on one side of the straight edge, go up about an inch and begin sewing, then sew all around, stopping about an inch from the other side of the straight edge. Leave the straight edge open.

I went around the large leaves twice for double stitching to add interest. I also didn't leave enough space at the end of the leaf and this made filling the leaves difficult. So, like I said, make sure to leave about an inch before your start sewing.

Sew all the large leaves like this. Sew the veins on each separate piece, then sew the two sides of one leaf together, wrong sides facing.

Here's a big leaf next to a small leaf, which I did NOT double stitch. They kind of look the same size in this picture, though. huh. Do all your smaller leaves in the same manner: Sew the veins on each separate piece of burlap, then match the pieces together and sew, wrong sides together.

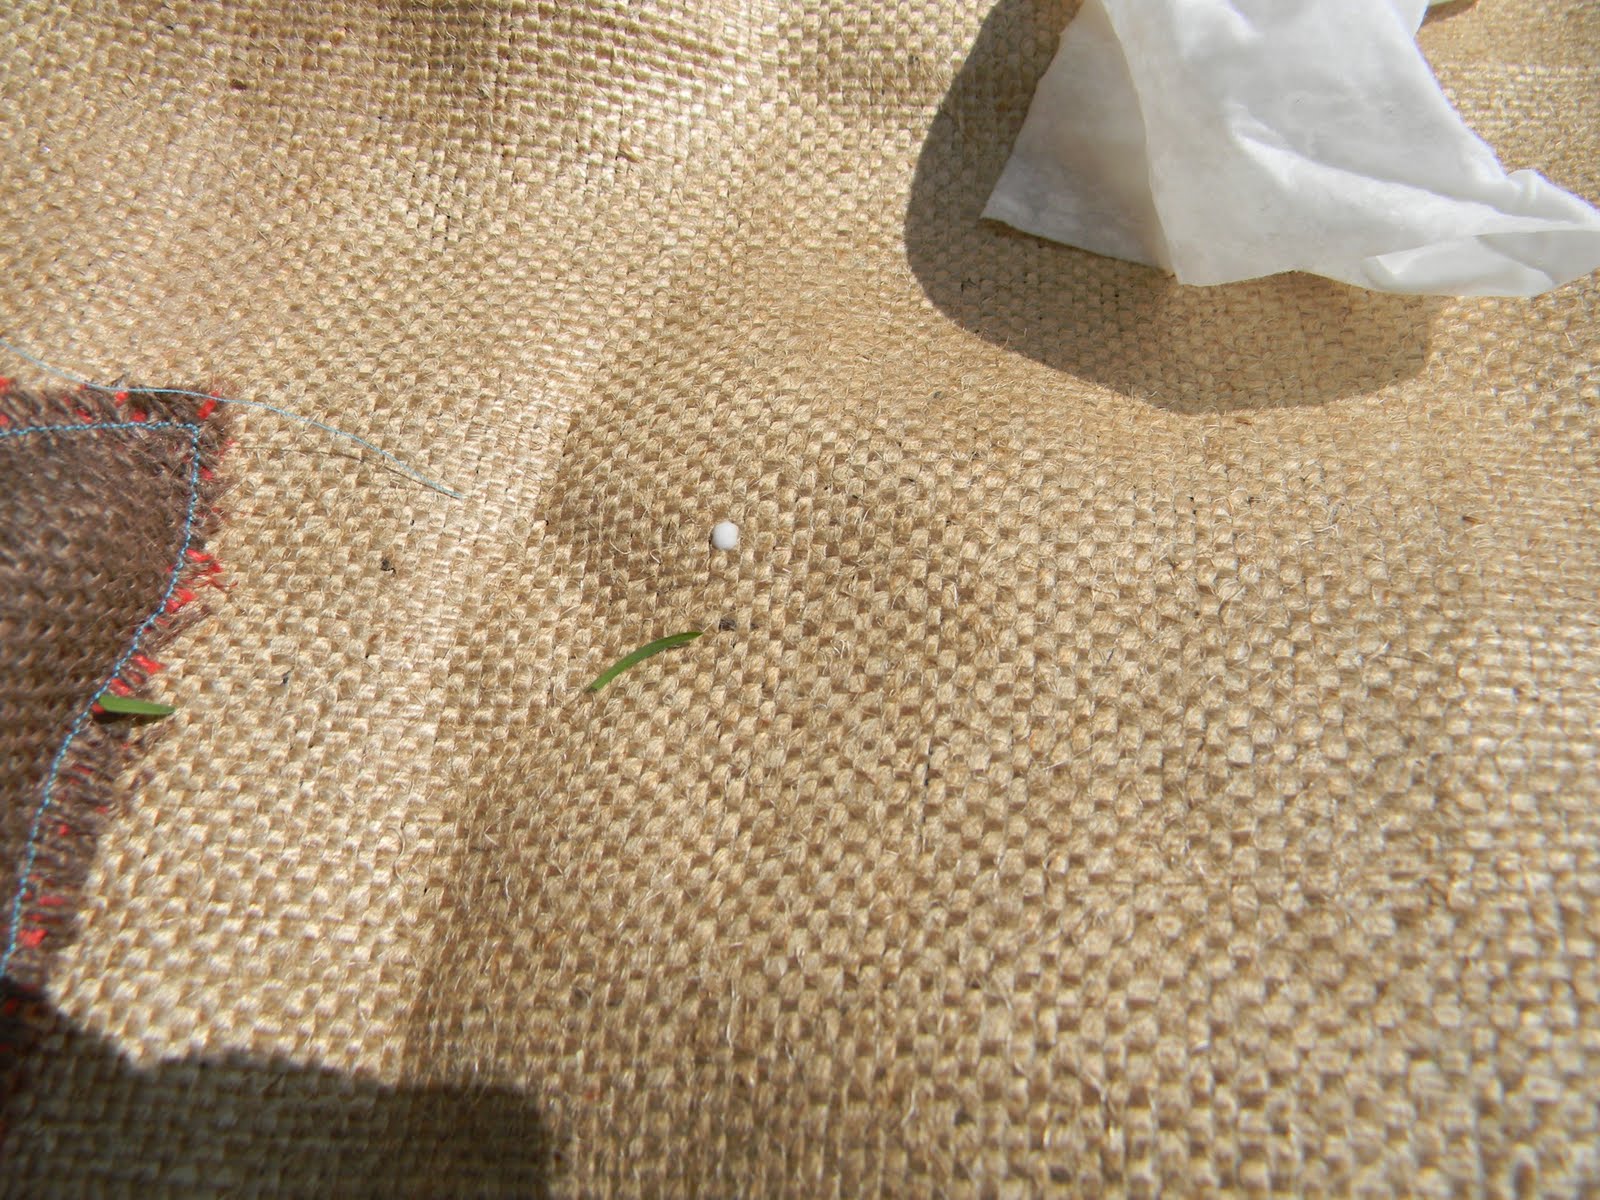
Now, use the flat side of a grommet as a template and draw a circle where you want your grommets to go. You don't have to use a sharpie - I did it so it would show up in the picture. Just place them about an inch or so from the straight edge.

Do this with the larger leaves, too. Then cut out the circles. The burlap was so easy to snip, I just used my normal scissors.

Now, use your card stock scrap to form a skinny funnel. Stick this down into the open end of the leaf, past the holes.

And choose your filler. I went with rice - it was small enough to make it into my tiny little opening, but not so small it sifted right through the burlap. I was originally going to use sand until I realized it would all just seep out. But you could use beans or small stones or whatever you want. I had this on hand in my food storage, so it was convenient.

When all of your leaves are filled with rice (or whatnot), attach your grommets according to the directions on the package. Be sure that when you buy the grommets, they either come with a tool, or you buy the right tool to fit the size grommets you bought. Hm. Think I had an issue with that maybe? (Stupid different sized grommets with separately sold tools....)

Now, cut eight pieces of twine about, oh, 12 - 15 inches long or so. For each pieces of twine, tie the ends together in a knot.

Then slip each loop of twine through the grommets in your leaves and slide one end through the loopy end.

Now, take your big sheet of burlap that you previously cut for the tablecloth and do a double stitch all around the edge. Trim any weird wonky spots or totally NOT STRAIGHT areas.

Now, the reason I sewed everything wrong sides together, and didn't line the blanket or anything is because I really like the look of slightly frayed burlap. That's part of the charm of burlap in my opinion. If I wanted the edges to look crisp I'd use... uh... something other than burlap. You know what I mean.
So, go along the edge of the blanket and the edges of all the leaves, and pull some of the strands out to fray the edges up to the stitches. Lovely frays:

Now, cut two strips of lace - about two inches wide or so and as long as your blanket is wide DOUBLED. Sew a gathering stitch down the length of each one and gather them. Then stitch one to one end of the blanket and one to the other end of the blanket. You can pull out the gathering stitch after it's sewn on.

Take the rest of your grommets and place one in each corner of the blanket, then two on each long side of the blanket in between these. You'll have four grommets equally spaced on each long side when you are done.

Here's where I got a little lazy and started forgetting to take pictures. It was well past my bedtime.
Fold your blanket up so that the underside is facing out. THAT'S SUPER IMPORTANT. Underside facing OUT. Fold it up to the size and shape you like. Make sure that you fold it so that one end is able to TUCK INTO the other. (You'll see a demonstration of how I folded mine below). When it's all folded up how you like it, take a pencil and draw all along the edge of the folded up blanket. When you unfold it, you'll have a small rectangle drawn on the underside of your blanket in pencil. Take a contrasting color of burlap and cut out a rectangle to match the size of the one you drew. Use your hot glue gun to glue this small rectangular piece to the penciled in rectangle - only glue the sides and bottom, leaving the top open. It's a pocket!

To make the handle, I simply took another strip of lace - about five inches wide or so and long enough to fit over your shoulder and hang to just above your hip. Tie a small length of twine in a knot around each end of lace - gathering it. Then hot glue these to the upper corners of your pocket.

Now you can fold your blanket all up and tuck it into the pocket - and your leaf blanket weights fit inside too!

Take it to the park and try it out! See this disgusting tabletop? Uck. Who wants to eat on that?? Fortunately, you don't have to! You've got your trusty...

portable,

weighted,

stylish picnic blanket!

Simply pull out the leaves and loop the twine through the grommets on the blanket and,

your blanket won't blow away!

No flipping up into your food due to windy conditions.

And perhaps I'm alone in this sentiment, but I love the juxtaposition of lace with burlap. LOVE. It's kind of "homey, country, chic, vintage-y, old-world CHARM," you know?

But don't stop there! No table in sight? No problem! This blanket transitions perfectly for ground-use as well! Just place the leaves on top of the blanket along the edges to keep it still!

I think it's time to eat!

Best part of all? When someone spills - because someone WILL spill, there's the easiest cleanup in the world. Can you tell bug spilled his chocolate shake all over right here:
Didn't think so! I just mopped it up with a wet wipe and it's as good as new!
Plus, those leaf weights?

They're not only good for weighing your blanket down. Oh, no. There're so many other uses as well! How about:
Protecting your plates and cups from flyaway frenzy.

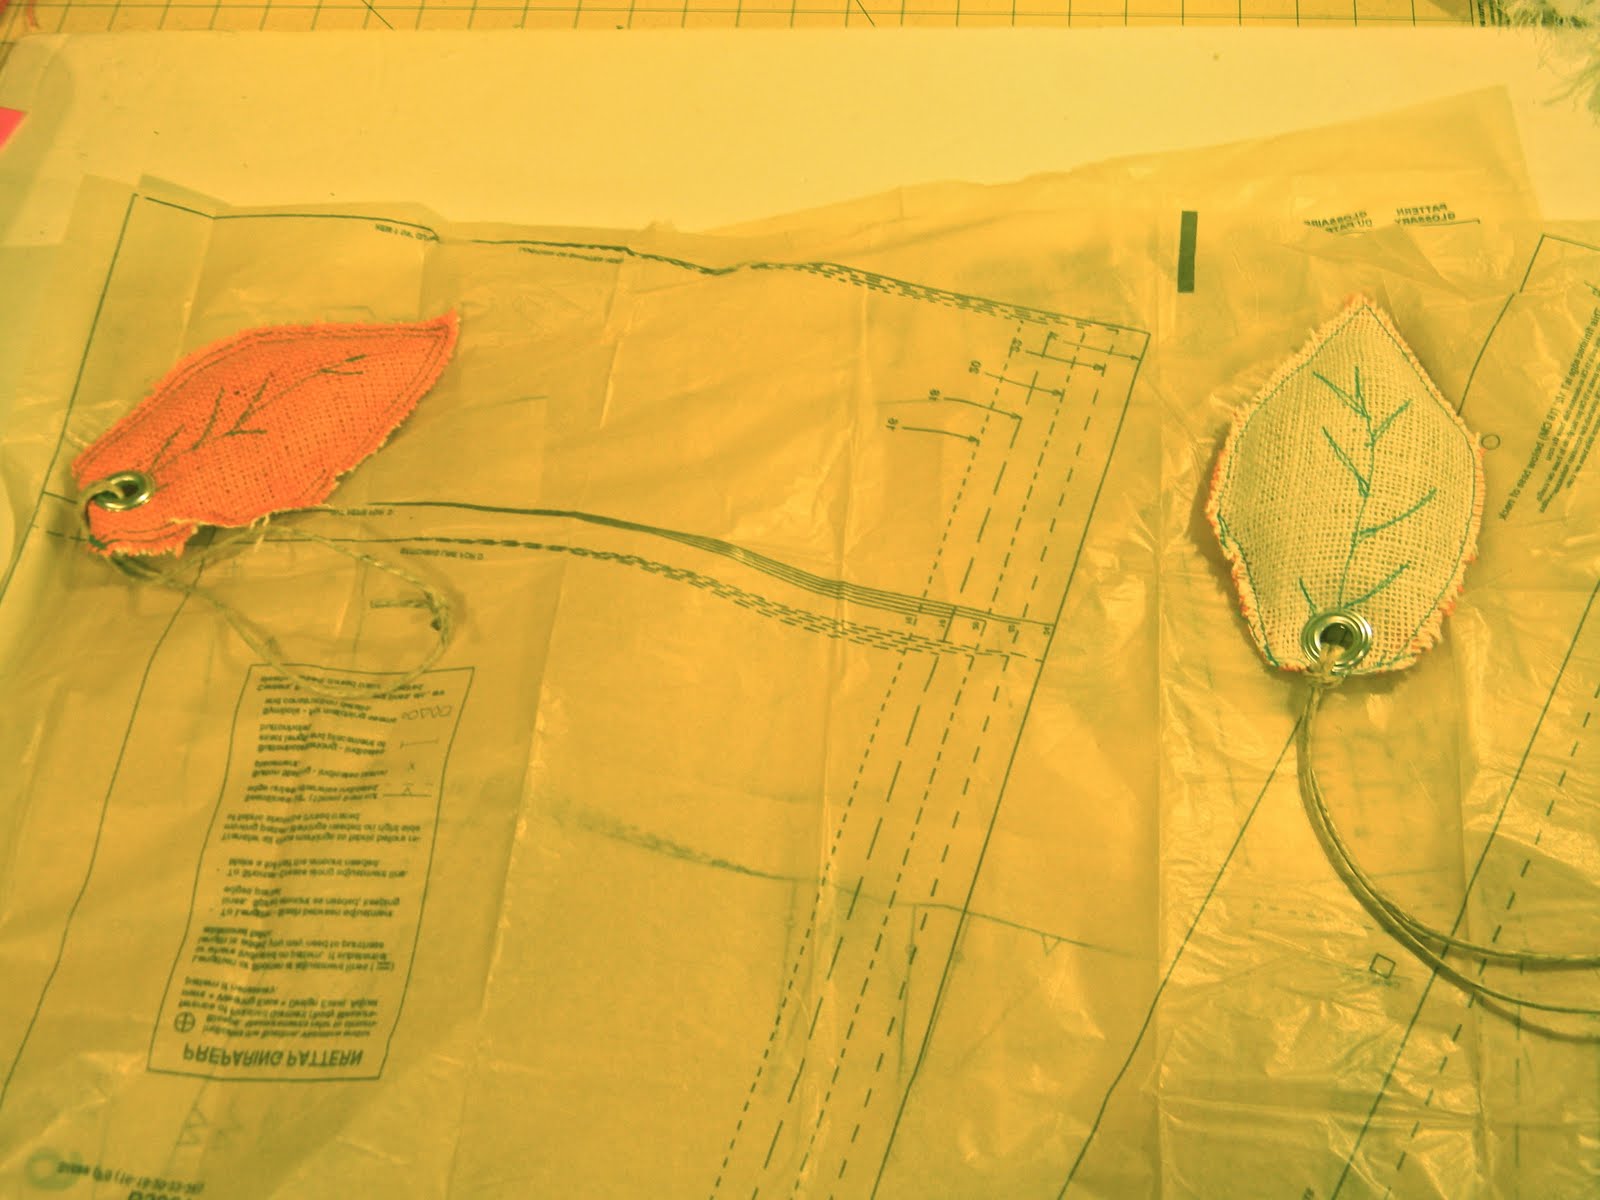
Holding down your pattern pieces while you cut.
Or looping the twine around a simple place card at an outdoor party. (No picture of that, sorry.)
OR, you could do like bug did, and use it as an ACTUAL blanket while you are eating. Weirdo.

So, enjoy your yummy food

and then pack it all up,

(Fold in thirds - right side to the INSIDE)

(Fold this in half, pocket facing up)

(Fold in half, just below the pocket - which is now facing down)

(Flip it over, pocket up again)

(Fold the top end down to touch the top of the pocket)

(Fold the top end down again to tuck INSIDE the pocket.)

(Place your leaves inside.)
fling it over your shoulder, and you're good to go!

Picnic blanket made easy.
Oh, and for the record, I don't think I'll be working in burlap again. How do you guys do it?? About five minutes in I (and everything else) was covered in tiny, microscopic threads of the stuff - I started itching and sneezing like crazy and I'm pretty sure I broke out into a few hives. Is this standard procedure for burlap?

*Be sure to check just below for all the fun parties I link to!


3 comments:
If you're as allergy prone as me (I need one of those bubbles like they make for hamsters), then yes, probably lol :)
I love this idea! You are so clever :)
This is so cute! Great idea!
VERY cute and the leaf weights are genius!
Post a Comment