Showing posts with label art. Show all posts

Wednesday, April 22, 2015

The One Where I Pretend To Be A Painter


My sister is an artist.  She teaches high school art classes (including basics, history, ceramics, photography, stop motion, etc.) and has a part-time photography business.  So, pretty much she's amazing. (not just because of these talents, but we'll leave it at that for this post...)
This year, she had a milestone type of birthday (but for her sake I'm not going to mention the age... you're welcome Alisa!)  But I knew I had to do something big.  Something spectacular.  Something very secret and hush hush.  So I worked with my brother in law to throw her a surprise party with all her friends and family.  I decided to go with an art theme (for obvious reasons, see) and I have to say, I think it turned out pretty awesome.  I mean, not to toot my own horn or anything...


Anyway, for her gift (which also doubled as decor for the entry to the party) I decided to put this perfect quote on a canvas for her.  I know you've seen it around, because like I said, it's perfect, so a lot of people obviously love it.  But I'm going to explain my painting technique (which was freehand) and how I got a sort of 3-D effect for the flower.

I was planning on using my cricut explore to cut out the vinyl letters (because that's what it's for, yo!) but sadly my computer is having major problems lately - we blame old age, it's really got one foot in the grave (sorry, old friend, but it's true) - and it won't run the circuit design space software properly.  Or at all.  Gr.

So here's where I started out.  I sketched my idea on normal paper, figured out the spacing, etc, and the fonts I wanted to use.
Then I used a ruler and pencil and lightly drew straight lines across the side of the canvas so I would stick my words down straight.

The next step was to measure out the vinyl to the height I wanted the words to be.  I drew the words on with pencil just eyeballing everything.  And then.  The best part.  I cut every letter out by hand with a scissors.  No I am not kidding you.  Yes I am serious.  And yes, it did take a while.  They ended up nice and straight and I was pretty happy with it.  So I placed it on the canvas.

 I rubbed pretty hard on the letters because I didn't want them to come up and I was a little concerned about bleeding underneath.

 Then, on to the flower.  I wanted to make it have texture and depth, but I am NOT an artist and I'm pretty unsure of myself when it comes to oils.  So I knew I'd be painting with acrylics.  I drew the flower on the canvas lightly with pencil, then went over it with a hot glue gun.  


 I did multiple long lines for the stem, a single layer line for the leaves, layers of curves for the petals and dots for the middle.

To paint it, I did the background first.  I started in the top left corner with black, then without rinsing my brush added violet.  I blended the two together, slowly adding more violet and then, without rinsing the brush again, added indigo.  I blended the violet and indigo, then rinsed the brush and added in the aqua, blending the indigo and aqua, and moving down with just the aqua.  Then I added some citron green and blended that into the aqua really well, moving down to just citron in the corner.  Basically, you rinse your brush only between the dark to light colors, other wise you leave it and just add more color to it.  I went right over the letters, but avoided the hot glue flower.
I used dark green, kelly green and citron on the stem and leaf, just blending and highlighting.  Then I used a cherry red in the middle of the flowers, blended it into a dark pink and blended that into the white at the tips.  In the dotted center I used yellow, mustard and white to highlight.  I just dabbed it on with a round brush.

 And that was that.  When I took the letters off (which I did while the paint was a little bit wet) I did discover a bit of bleeding.  I took care of it with a white oil based paint pen.  I just went over the worst parts to even them out.  

She loved it.  I think it was a pretty fitting tribute to her _ _  years of life!  


*Be sure to check below for all the fun parties I link to!*

Thursday, August 15, 2013

Cute and Thrifty with Kimbo


Well, I've got the girl herself here today - you know, THE girl.  From A Girl and A Glue Gun - and it's no secret I stalk her blog like a crazy rabid craft weirdo looking for her next fix.  Half my pins on pinterest come from her, I swear.  Like this awesome planket.  And all 6 million and 2 of her felt/glue gun projects.  And her bazillion fun gift ideas that just about anyone would love.  And all her sewing crap.  Well, anyway, here's her bright idea.


i have about 45 birthdays in the month of August (okay..slight exaggeration..but it FEELS like 45)
and when it's all said and done...i'm broke! and you know what always makes me the most mad...
spending 3-5 dollars on a gift bag....ON TOP of the price of the present that goes IN the bag.
so today i'm being cheap and showing you how to decorate a plain gift bag
(you know...the ones that are cheaper than a dollar)
decorate a plain gift bag 2PicMonkey Collage bag

and the best part is...you only need a sharpie and some cardstock (or you can print images if you don't have an artistic bone in your body)photo 1 (4)

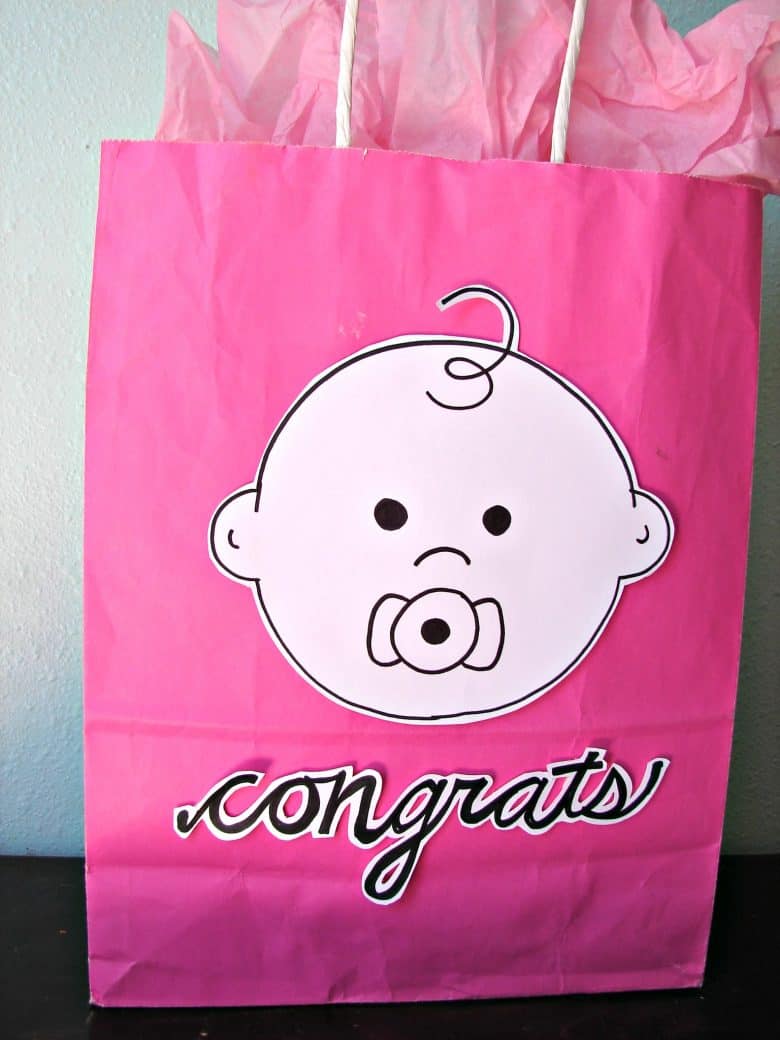
i took a stamp i liked and just mimicked the baby face and wrote out congrats
photo 2 (7)

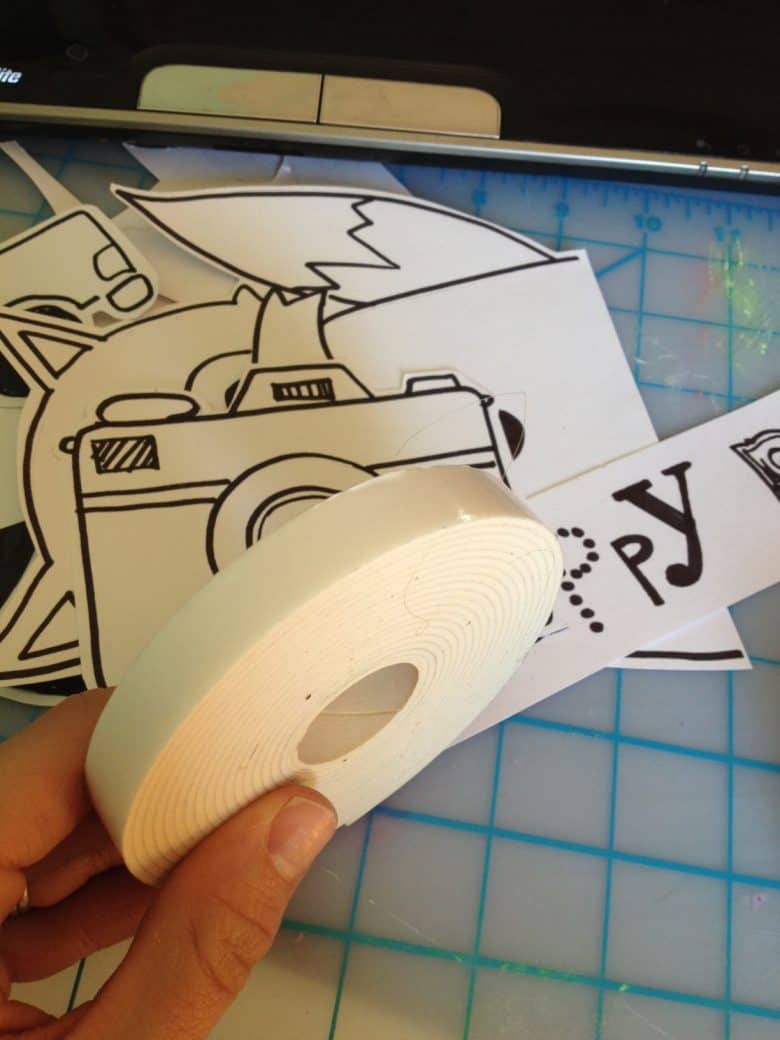
and as you can see from the pile i didn't stop..i tried to make a variety...women, boys, baby blessing, birthdays, what have you.
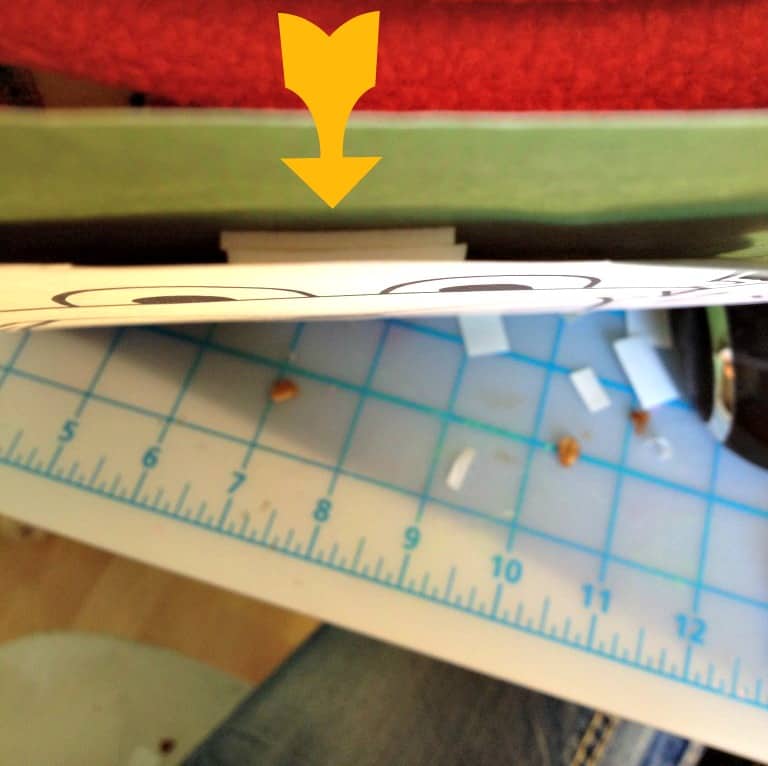
then i took this tape that is thick....so it makes your pictures stand out from the bag...
photo 3 (3)

(pretty sure this tape is an elmer's product!)photo-1-1-768x1024

then you just peel and stick!DSC02581gg
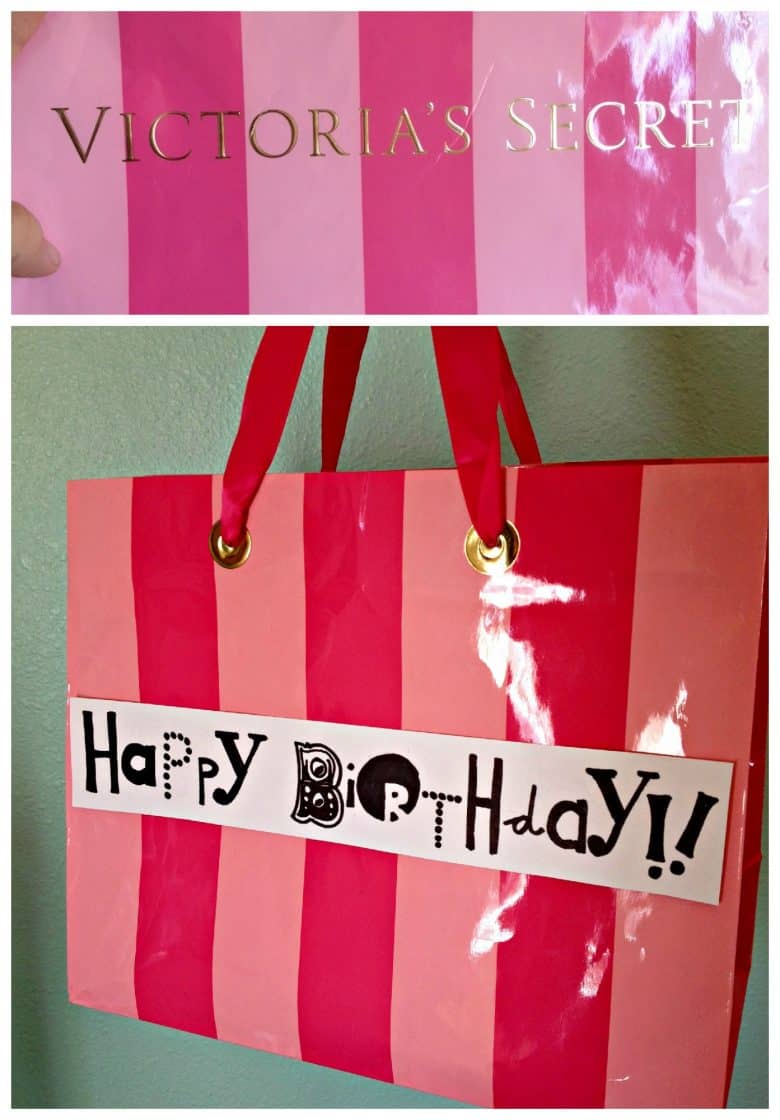
photo bag
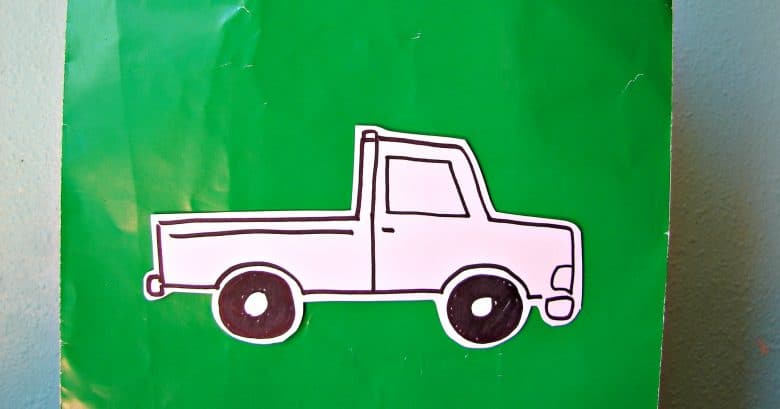
truck

you can even use this technique to cover up logos....PicMonkey Collage44
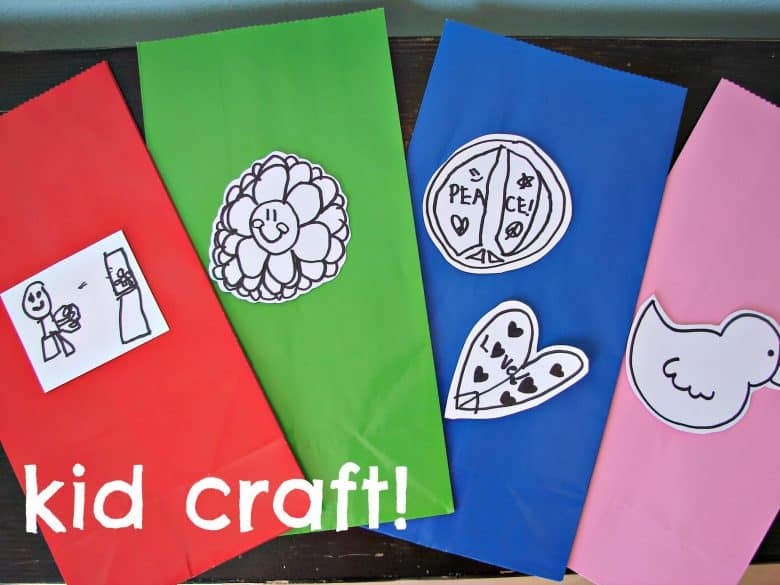
AND i even got the kids in on the action....these would make awesome party favor bags!kid drawn bag
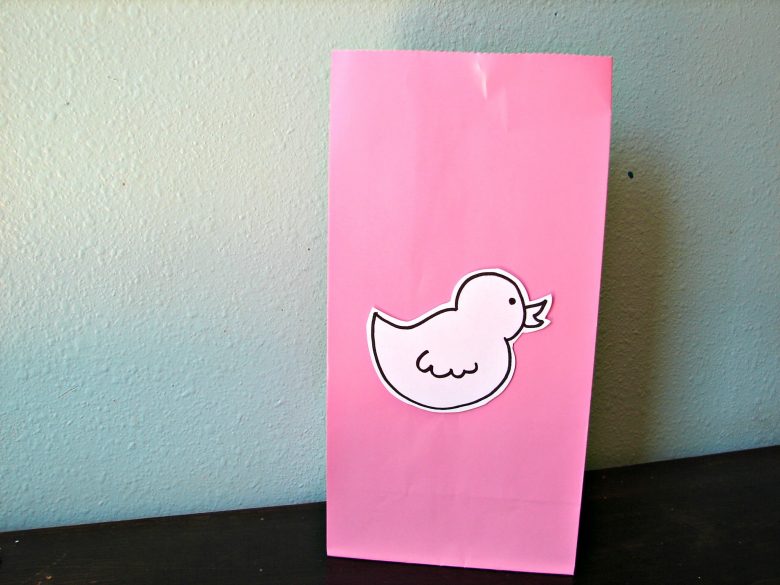
ducky 

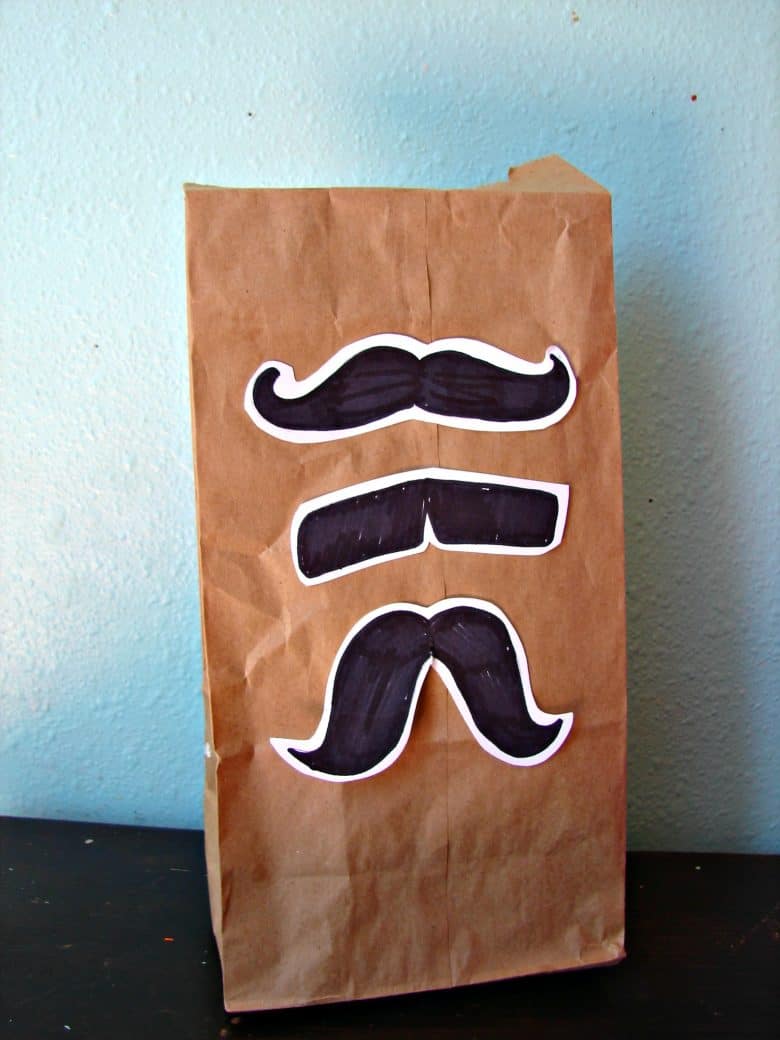
or get creative and give your kids sack lunches to smile about!!!
mustache

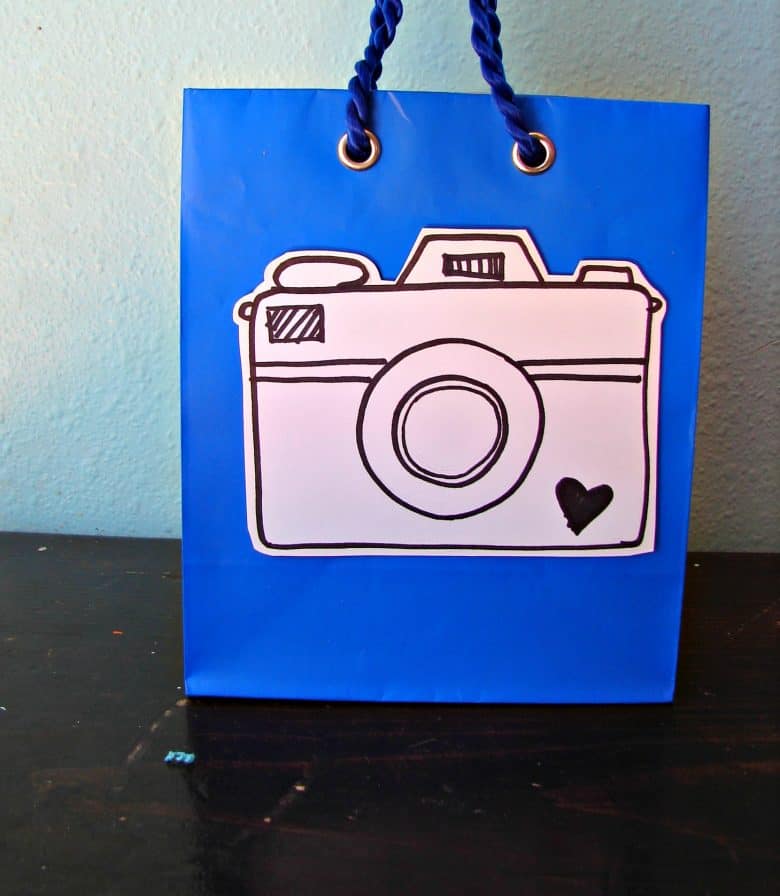
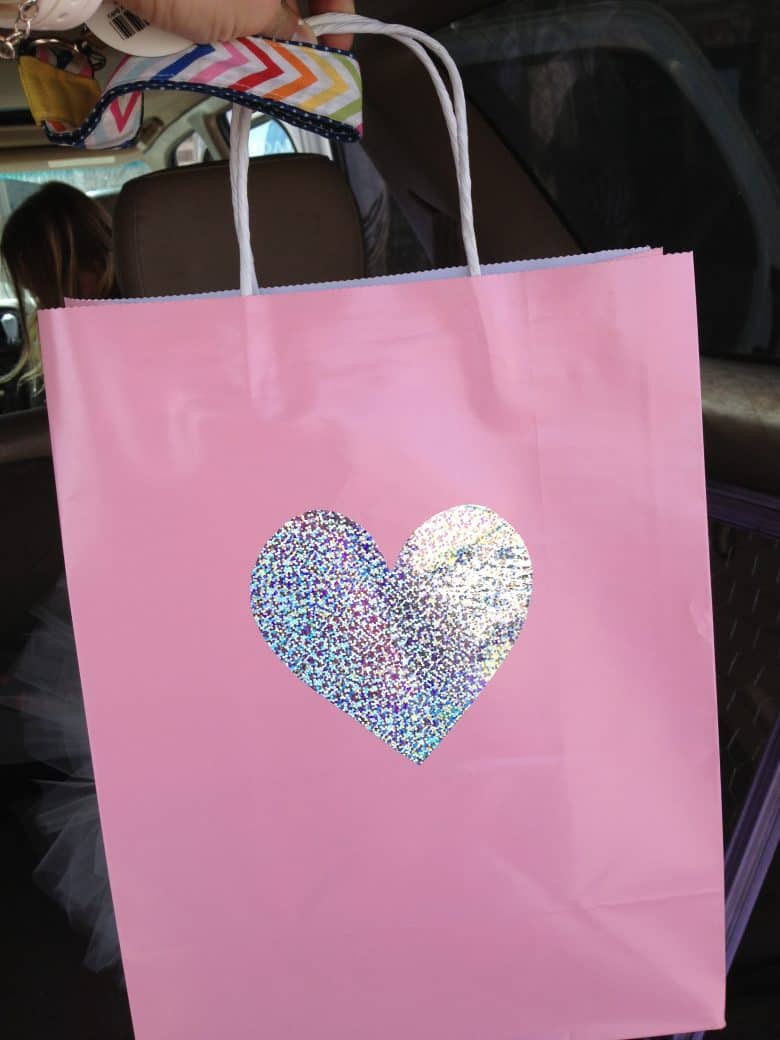
i even grabbed a piece of vinyl and cut a heart and stuck it on.....took less than a minute!
photo 5 (9)

so...as you're gifting it good this season...make sure not to break the bank on these expensive bags!!!!
thanks kimberly for having me!
and if you want to check out my blog i'm here: www.agirlandagluegun.com
here's a bunch of other crap you can find over there!!!birthday tags Picnik collage89yh DSC03535 photo 1 (12)


Thanks, Kim!  Great minds DO think alike... because I have a ton of cheap and free bags like this just waiting to be spiffied up.  Once I, you know, get to it.


Tomorrow's guest has yet another great gift idea for lots of occasions - especially as we get into the cooler months!  Stay tuned!


*Be sure to check the right sidebar for all the fun parties I link to!

Tuesday, August 21, 2012

LOVEly Wall Art - Terra from Mama Says Sew

Mama Says Sew is a blog you should definitely be following.  If you aren't already, that is.  She's got great ideas and lovely inspiration for projects of all types.  Her gift idea today is right up my alley and something I am very excited to try out!
***
Hi everyone! I'm Terra and I blog over at mama says sew. I'm excited to be here today for the Gift It! series. 
Today I'm going to show you how to make this map showing a little local love with string and nails.


This would be a great wedding or baby shower gift. You could do the location where the couple got married with their names and the date, or the location a baby was born with the name and birth stats. 


There are a whole bunch of these maps floating around. You can buy them on etsy, but I thought, why not make my own? So here we go.

You'll need:
A board 
Paint
Painter's Tape
Nails {and a hammer}
Crochet Thread

Start by painting the board your base color. I wanted stripes, so I just added some strips of painter's tape.

 Then paint over it in a contrasting color. I had a little help with this one.

Pull off the tape and wait for it to dry. You can distress it if you'd like.

Print out a stencil. Spray Paint Stencils has lots of them. And they're free. I copied mine into a Word document and enlarged it.

Trace around it onto the wood. You can use a pen like I did below. If you're using a soft wood like pine, you could also use a nail to just dent the wood instead of leaving ink. That way you don't have to worry about the ink showing.

Hammer in the nails all the way around. The closer the nails are together, the more you'll be able to fill in the map with string. I used 1-inch panel board nails.

Nail in a heart for the location.

Tie your string to one of the nails. Note that I trimmed the tail. Bad idea. It's much easier to tie a knot at the end if you have a tail to tie it to.

Start wrapping your string around the outline nails and then the heart nails and back to the outline nails in order. Obviously you have a lot more outline nails than you do heart nails, so the heart nails will have lots of wrapping around them.

Unless you're doing a state like Wyoming or Colorado, you'll probably have an area like this where it would be really awkward to go from the outline to the heart. I just went back and forth across the outline nails to fill in these sections {in addition to New England, Florida and Michigan look like this too}.

Now add names and/or dates. Ta da! A unique and meaningful gift.


I know, right??  Brilliant!  A perfect blend of some trendy ideas, and some of the cutest string art I've seen.  I think newlyweds would LOVE this.  Thanks, Terra!  Can't wait to put this idea to use! 


*Be sure to check the right sidebar for all the fun parties I link to!

Tuesday, August 23, 2011

Sketchy Food Coloring Water Color. Or something.

Soooo, remember 2 million years ago when I did that blog swap with Spunky Junky?  The second one, not the first one.  It wasn't 2 million years ago?  Oh.  Huh.  Just feels like it.

WE-ELL, the secret ingredient she picked was food coloring.  Food coloring.  Yep.  Which led me to some series brain injuries trying to storm up something that hadn't been done to death.  But here it is:

What could I show you that would be just a little different?  I decided to try my hand at painting with food coloring.  I suppose we could call it Food Coloring Water Color.  Or something like that.


I liked the sketchiness of it and the casual feel.  It reminded me of something out of a kid's sketchbook.  But I really did NOT like the $299.95 price tag.  Seriously Anthro?  Seriously???

You'll need:
water and food coloring.  Obviously.
a black fabric paint pen
spray bottle
a number of canvases
a rag (or old baby blanket when you can't find a rag.)


First off, you'll want a plan.  Think up some awesome design and figure out how you want to arrange your canvases.  Sketching things out ahead of time on paper would be helpful at this point.  A little tip: tight, intricate designs are not going to work well with this method.  You want something more abstract.  Anything pastoral or representing nature would be good.  Or just shapes and such.  But nothing specific like argyle or quatrefoil, right?


I decided that my large canvas would go on the bottom and be grassy, dotted with flowers.  Kind of like a representation of my blog header, I guess.  Then I would put the smaller canvases above and paint those like clouds.  I explain all of this because my tutorial will obviously be specific to MY design - so just adjust colors and such for yours.


I started with the base color, which in my case was blue.  Fill your spray bottle about half way and add as many drops of food coloring as you want to get the saturation you're going for.  On the canvas, the food coloring will be MUCH more pastel than in the bottle.


Now, using the "mist" setting on your spray bottle, just spray your canvas all over.  Here's another tip:  You'll want to have a base color in your design - something in the background that's dominant.  Why?  Because it's important to really soak the canvas so it doesn't remain hard and stiff - resistant to the coloring.  If you don't use enough water, the canvas will look mottled and you will have spots of canvas showing through and areas that look stained or crusty.


Once you've saturated your canvas with your base color, take your rag and blot it off in some areas.


Then use the base color and spray it all over again.


And blot again.  Just keep repeating these two steps until you have the desired coloring/pattern you like.  See?  Doesn't that kind of look like clouds?


I used two base colors for the big canvas, because I didn't want my grass to be teal.  SO, just spray the top of the canvas with blue and the bottom all over with green.  SATURATE.


Adjust your bottle so the nozzle is more of a stream.  Use the green food coloring and water to spray jets of green stripes on the bottom 3/4 of the canvas.


Use the mister setting again to spray some blops of color around in the grass to add dimension.  I used red and yellow together for a light orange.  Then I blotted it off.


Next, drop red and yellow dots of food coloring directly from the little squeezy dropper onto the canvas randomly.


And blot pretty well.


Your canvases look a little like this when you're done.


Let them sit out in the sun to really set the food coloring and dry off all the water.


Now, if at this point you think the color is a little too faded, you can repeat the process.  I liked the faded look.


When you're done, you can go to town sketching floral shapes around the blobs of color with your black paint pen.  Add a few leaves.


And you can lightly outline the clouds.  Maybe add a few geese for fun.


Can I take a moment to tell you that I love those fabric paint pens??  This was my first time using one and I will totally use it again.  I love that it is just slightly shiny and raised off the surface of the canvas - it adds dimension and texture so it doesn't look so flat.


And here, in all it's bad lighting glory is my Food Coloring Water Color nature scene in my upstairs hallway.  

I think it dresses up the hallway but doesn't feel too formal, which I really like.  It reminds me of kid's art - which I have a fondness for.  I liked the idea so much, I've begun work on ANOTHER food coloring project that may or may not include some sewing as well... hmmm... TBA.


Please ignore the scuffs and marks all over my walls.  We haven't painted the hallway yet.  Come on, we've only been here for three years.


*Be sure to check just below for all the fun parties I link to!
Related Posts Plugin for WordPress, Blogger...