


My wonderful and super talented lil' sis asked me to stop by and share something pumpkin related this week for “Pumpkinspiration” and I was happy to oblige. BUT, given the state of my life right now it’s break neck pace I had certain criteria my pumpkin project had to meet. First I didn’t have time to go out and find materials. Second, I didn’t want to spend any money on said materials. Third, it had to take me one sitting, because, of course, I don’t have time for much more than that, not to mention patience (I don’t have much of that either). So I chose a throw pillow.
Here it is:

Sort of cute. I actually like it. And very easy.
First I looked through my stash and found the fabric I wanted to use. I also had fiber fill so I spent zero dollars on my project.
Here’s the fabric I picked out:

Here’s the fabric I picked out:

I cut my orange fabric into strips of different widths. I cut a rectangle out of the green fabric, as well as three strips.

I sewed my orange strips together length wise, placing right sides together and stitching a quick seam.
I did this with all of them. I pressed my seams and turned my “pieced” fabric over. Nice.
I did this with all of them. I pressed my seams and turned my “pieced” fabric over. Nice.


Then I cut two large squares from my gray knit fabric. I drew a pumpkin shape, including stem, out on one of the large knit squares with a fabric marker.

Then I pinned my orange fabric, right side up against the back of my knit where the pumpkin was drawn out, and the green rectangle, right side up against the back of my knit where the stem was drawn out.

I sewed a quick running stitch just on the outer edge of my drawing. I removed pins and used a scissors to cut my gray knit pumpkin and stem out to reveal the cute orange and green fabric underneath. It’s a reverse appliqué.

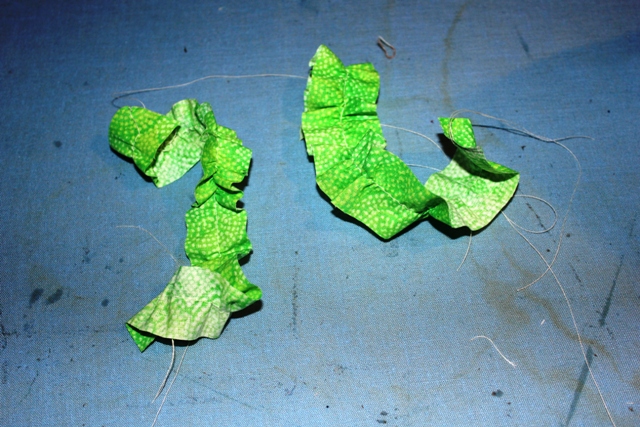
I gathered my three green strips and sewed them on below my pumpkin to look like vines.

I pinned my two gray knit squares, right sides together and sewed around the perimeter. I left a small opening, turned my pillow right side out, stuffed it, and sewed it together by hand.
There you have it! Easy. Fast. And kind of cute. And zero dollars spent. Happiness all round. Today when she saw it, my daughter asked me if it was hers or mommy’s. Smile.
There you have it! Easy. Fast. And kind of cute. And zero dollars spent. Happiness all round. Today when she saw it, my daughter asked me if it was hers or mommy’s. Smile.

I hope to someday grow up to be at least a little like my sister. Enough said. Check out DoodleDaisy!

*Be sure to check just below for all the fun parties I link to!


No comments:
Post a Comment