


Before I start the tutorial, I want to be sure to remind everyone of the original inspiration, which you can find on MJ&G, right here.
In this tutorial you will find my tweaks, which make this


Necessary:
Ribbon (all different kinds. You can use just a single ribbon, or check out some ideas for layering different ribbons, below)
Elastic hair band (any size, really)
Measuring tape
Button
Velcro
Various flower type accoutrements (i.e. felt flower, knit rolled rose - both shown below)
Sewing machine
Needle and thread
First of all, measure your waist. Nope, I’m not going to show you mine.
Add two inches for seam allowance-y type things.
Now, measure your elastic hair band. Stretch the elastic out - but not as far as it'll go. Do you know how hard it is to take a decent picture with no hands and no tripod???

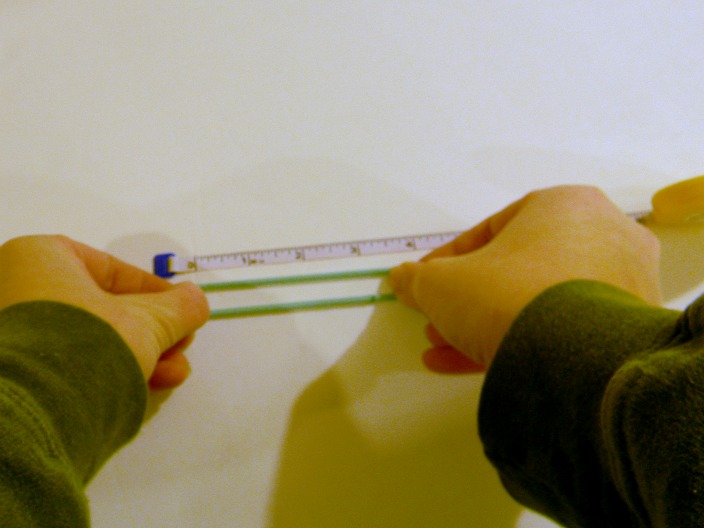
Subtract the length of the hair band from the total length.
Cut a ribbon for the remaining length.

Make sure to singe the ends of all ribbons with a candle or lighter OR use fray check so the ribbon won’t unravel.

Turn your ribbon right side down. Place your elastic over the end of the ribbon and

curl the end of the ribbon around the elastic.

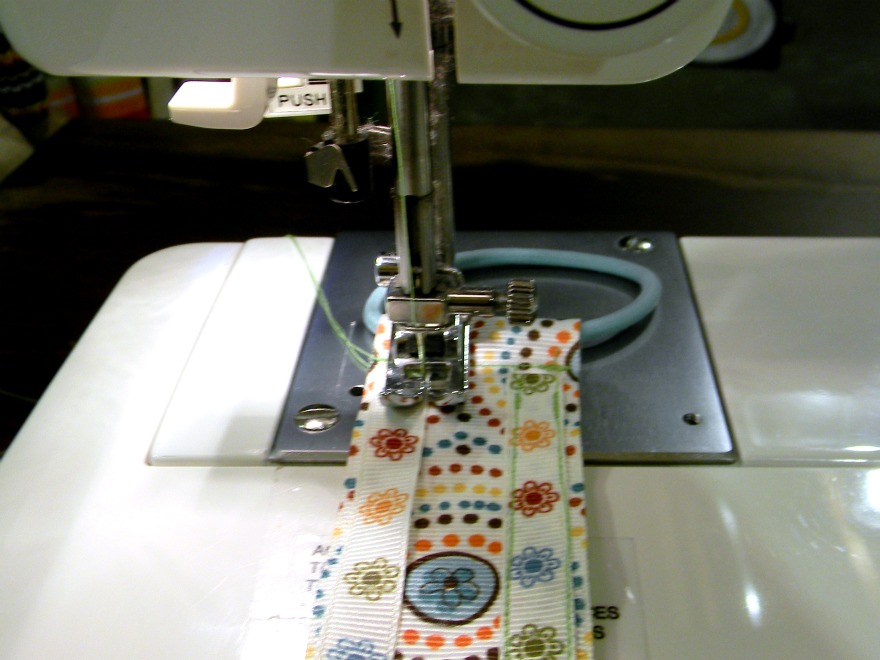
Using a straight stitch, Sew straight across the ribbon.

Now, you can layer ribbons and what have you. For instance, cut two lengths of skinnier ribbons.

Pin one of them to the end of the base ribbon, where the elastic is attached.


(If you want, you can pin the ribbon in place all the way down... I’m kind of bad at sewing straight. So I did.)

Now, just sew down the ribbon on the very, very edge.

Then go back and sew down the other edge of the ribbon.

Do this same thing to the other skinny ribbon.
Don't worry what the other end looks like right now.

So now you have three ribbons layered together. Like this.


So now you have three ribbons layered together. Like this.

Take the other end of the ribbons (without the elastic) and fold it under,

then under again.


Choose an ugly button, because you’re going to cover it up anyway, and you don’t want to waste a cute button, do you?

Now, place your button right on that fold.

Using your needle and thread, hand sew the ugly button on.

Cut a bit a velcro and hot glue one side of the velcro (I used the scratchy side) to the face of the button.


Hot glue the other side of the velcro to a flower.

Like this cute felt pom pom flower. (Want to know how to make them? See Mrs. Priss, here.)


Don’t want to go the felt route? That’s ok. If you change your mind you can always use a different flower with velcro on it.

Like this rolled rose made out of knit material.

That’s the beauty of velcro. You can be as indecisive as you want.
As if that weren’t versatile enough, how about running a gathering stitch down the middle of a skinny-ish ribbon


and making a cute ruffle.

Then sewing that ruffle on to the base ribbon.

Voila! A cute ruffly headband!

OR bracelet!

Don’t want a ruffly bracelet? How about a multi-strand bracelet? Just start with multiple super skinny ribbon pieces

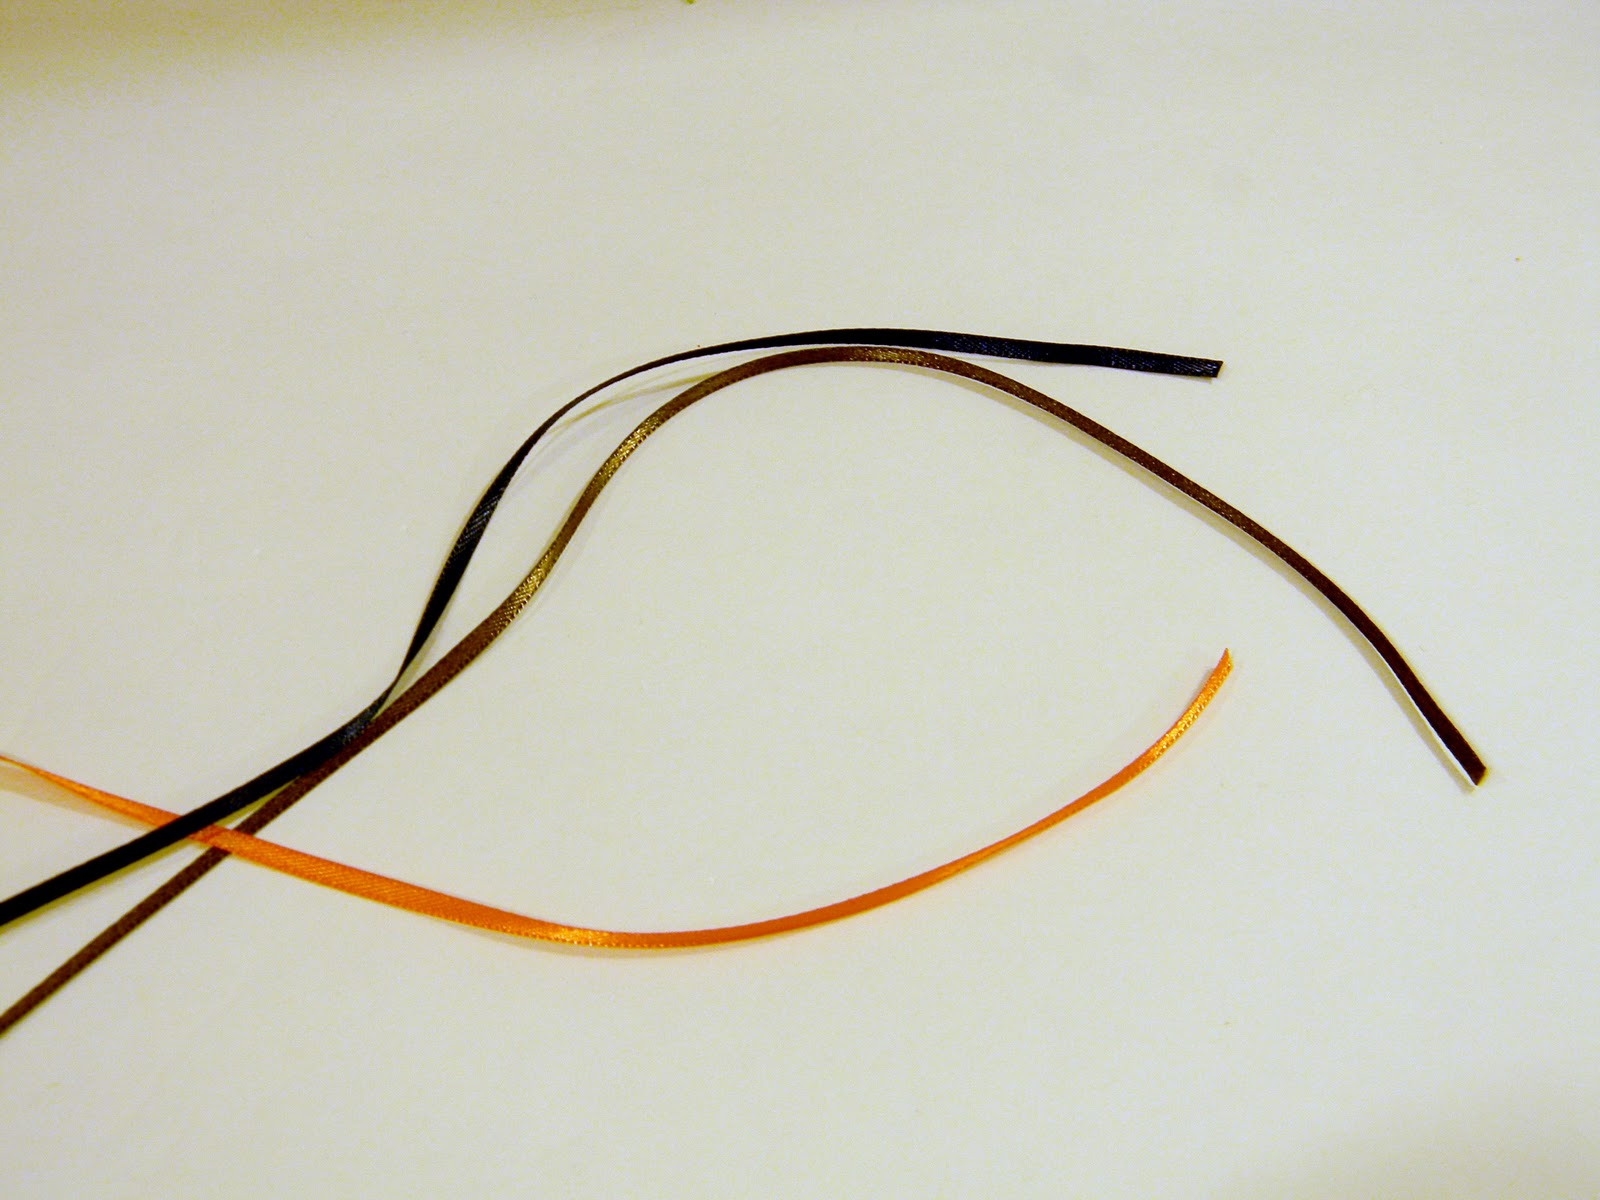
sew on an itty bitty elastic and a button,

and wrap it around your wrist twice.

And of course, you can always use it for a book, too. As in this post, here.

Here's The Most Versatile Belt Ever in action:


And more of


See what I mean about versatile? Told you I wasn’t lying.
For your general knowledge, I have decided to change the name from "The Most Versatile Belt Ever" to "The Svelte Belt." Because it made my sister feel svelte. And I love a good rhyme. And really, although it IS the most versatile belt ever, "The Most Versatile Belt Ever" is a really long name to keep typing.

*Be sure to check below for all the fun parties I link to!


7 comments:
GENIUS! LOVE THIS! Kind of reminds me of when I used pony tail holders on my pants when I was pregnant! :)
Absolutely the cutest thing ever! I love it! Makes me wish I had thought of it first hahahahaha :) Go you!
What a great tutorial for an AWESOME belt! Wow so cool, Kimberly. I may have to try this! These would make such great and simple gifts... Thanks so much for sharing your take on this belt, and for the original link as well!
So Cute! Would love for you to add to my Thursday Treasure Party @
www.thetreasurista.blogspot.com
Thanks,
The Treasurista
Finding and Creating FUN things...
You are just too good when it comes to crafts. Learning to use a sewing machine is one of those things that's still on my list of stuff to do.
Awesome! So cute! Thanks for linking up to Mad Skills Monday!
This is so awesome! Thanks for the tutorial! I am now a follower.
Melanie
youmadethat.blogspot.com
Post a Comment