


Well, the biggest storm of the season has hit full force here, and I am COLD. You too? What are you using to keep your head warm?
Is your hat plain and boring? Does it slump and sit like a lame duck? Are you yearning for a little pizzazz on top of your head?
How about:
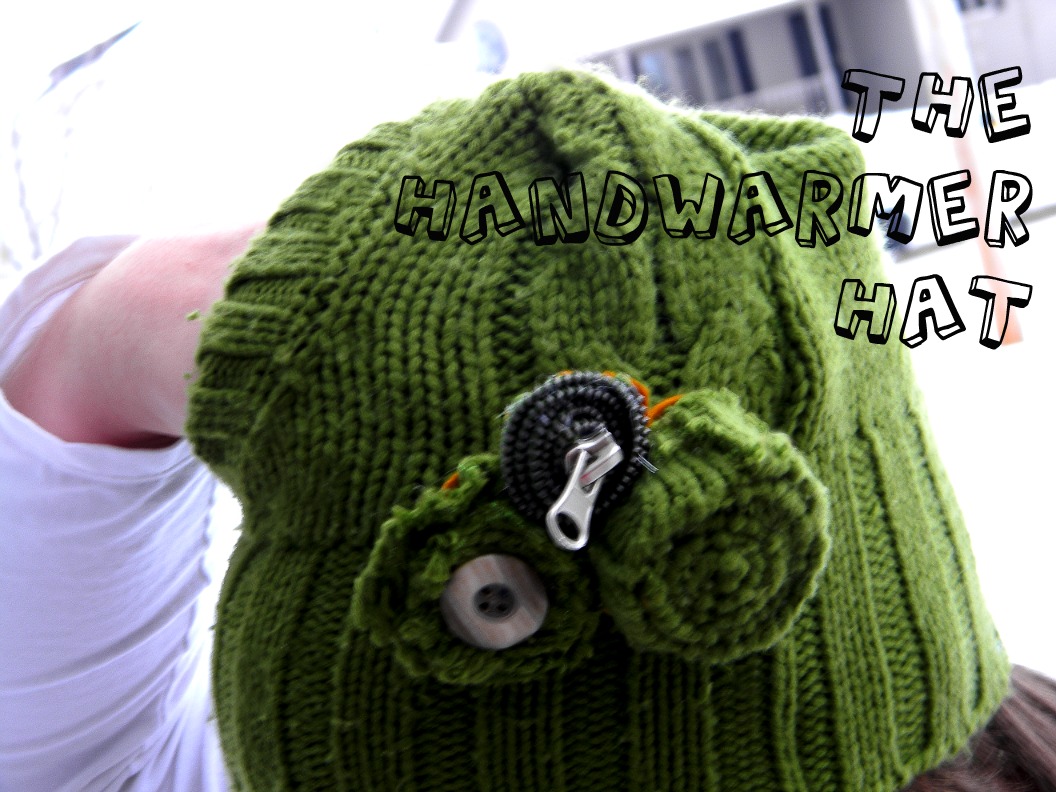
That’s right. A hat that can warm your hand as well. Or carry your change. Or simply look interesting perched front and center for all to see.
OK, tongue and cheek aside... want to make one?
You have to have:
A worn out or too small (or too big) or thrifted and stashed sweater... BASICALLY an unworn sweater that’s simply taking up valuable storage space.
A hat of desired size. (Shape doesn’t really matter. Just height and width)
Scissors - good ones. None of those crummy, nicked “I’ll just make do with these because I don’t want to go get my good ones”. Take it from me.
A sewing machine.
Any desired accoutrements.
A head. (Cuz why else would you make a hat?)
First. Lay out your slightly worn, too small, thrifted sweater that you got for $1.00! (Yes, one dollar!!!)

Place your plain, lame hat on top of the sweater. Make sure the bottom of the hat is right along the bottom of the sweater so that the finished edge of the sweater is the bottom of your new hat. Line it up on the sweater to make sure that all the sweater details are included as you want them. For instance, I lined mine up on the sweater to include the pocket right in the very front center. 

Cut the sweater up from the bottom, using the side of the hat as a guide. Cut all the way up to the topmost height of the hat, but don’t cut the top curve or anything. 

Make sure to cut both the front and the back of the sweater.
Now cut across the top from the side of the sweater into the previous cut. 

You aren’t cutting the shape of the hat, just the size.
And now you have a rectangle like this. 

Fold it in half so the right side of the sweater is in and pin the side together. 

Set your trusty machine to a zig zag. (Why yes, this machine IS older than me...) 

Sew right up the side.

And now it looks like this. 

Lay it flat - still inside out - front side up.
Cut across the top of the hat in a very wide M shape. 

Now, for ease of description, we will number the cut edges, 1-4 from left to right across the top and 5-8 from left to right across the bottom.

Take sides 1 and 2, squish them together and pin them. 

Using a zig zag stitch, sew the sides together. 

Now, squish sides 3 and 4 together, 

Pin and sew. 

And just work around the hat like this...
Squish, pin and sew sides 5 and 6 together.
Squish, pin and sew sides 7 and 8 together.
And it looks like this:

Flip it right side out, and from the top it looks like:

And from the front, you can see the cute little pocket.

You can leave it plain like this, because with that pocket it’s still cuter than that lame duck hat you were wearing.
OR, you can add a fun pom pom, made from t-shirt scraps.
Leave two of your t-shirt strands extra long so you can easily attach it to the hat, and make it removable.

Stick your finger through the knit weave a bit,

and pull one strand through.

Do the same with the other long strand.

And tie in a bow on the inside.


I actually made a second pom pom as well, to add a little more green. I used some vintage fabric from my grandma that I LOVE. I thought the first pom pom looked maybe a little too “Go Pack!” considering the atmosphere around here lately.

Now you can rock the poofy pom pom!
And you can take it off and attach a fun barrette through the knit instead. I made this barrette with pieces of the same green sweater.

And there you have it. One sweater can make two adult hats or four children’s hats! (Though not all four will have a pocket, obviously.) (Unless your sweater has four pockets, in which case, what kind of weird sweater are you using?)
So dump your plain jane cap and stick your hand (and head) in this fun little number - made from an old sweater and three old t-shirts!
*Be sure to check below for all the fun parties I link to!


11 comments:
I love this. I have tried to make a few hats and pretty much failed miserably. Argh...I am going to use this tutorial and try one more time.
AWESOME tutorial - I even have a couple sweaters that I could use to make this in a box ready to go to the thrift shop. I'll dig them out and link to you when I post about my finished cap. :o)
I'm imagining matching caps for me and my daughter... *SMILES*
Following your blog now! Don't want to miss anything else! :oD
Hi visiting via Leighann @ Crafty Southern Chick. This is an awesome project Im so not a sewing person (secretly I want to be tho. lol) Im a new follower, hope you will come over and visit me on one of my blogs.
Great tutorial!! Wish I was a hat person though...maybe I could make a gift :)
Thanks so much for linking up to "20 Below Thursday"!!
great job! and great deal! That is a super adorable sweater for $1!
Cute hat and great tutorial!
Hehehe! How fun! Thanks for linking up to Mad Skills Monday!
This is a great idea! You could even make matching leg warmers and fingerless gloves! Thanks so much for the idea!
This is a great idea. You could even make matching leg warmers and fingerless gloves. Thanks for the idea!
LOL! Love the pocket. And since my hands are always cold, it would be perfect for me. Thanks for sharing!
Thanks for a wonderful idea! I have a lot of sweaters I can recycle.
I found you through the CSI project!
Post a Comment