Today's guest is the uber talented chica behind the blog Cherished Bliss. I first became aware of her blog during Yarn it All when I featured her insanely brilliant yarn tote:
(The other side has pockets for all the hooks and needles)
I couldn't stay away after seeing that.
***
Hi Everyone! I'm so excited to be over here today! I'm Ashley, and I blog over at Cherished Bliss.

(The other side has pockets for all the hooks and needles)
I couldn't stay away after seeing that.
***
Hi Everyone! I'm so excited to be over here today! I'm Ashley, and I blog over at Cherished Bliss.

This is such a fun series, I always love giving handmade gifts! Although sometimes there just isn't time! So today I will be sharing with you a super easy tutorial. If you have been thinking about learning to sew, this would be a great project to practice with! This takes less than 30 minutes to make, that's my kind of handmade gift!
I use mine for yarn needles in my Yarn Tote Bag! But you could use it for anything!
{Here is what you will need}
- 2 pieces of fabric roughly 12.5” x 5.5”
- a button or velcro
- and your basic sewing materials (thread, sewing machine, scissors)
{Tutorial}
1. Take your 2 rectangles and sew them right sides together with 1/4” seam allowance. Leave a small space in the bottom for turning.
2. Clip corners and turn fabric right side out. Press. Press down your seam in the space you left open. We will top stitch this later.
3. Tri fold your rectangle and press.
4. Then you are going to leave the “flap” up and top stitch around the 2 sides and top. I chose not to top stich across the bottom. This creates the pouch.
5. Now just make a button hole on the flap and sew on your button and your done!
Easiest Pouch Ever right?
Who do you know that would love this?
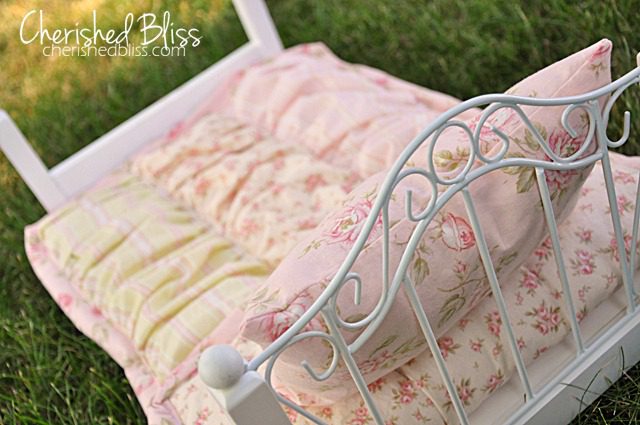
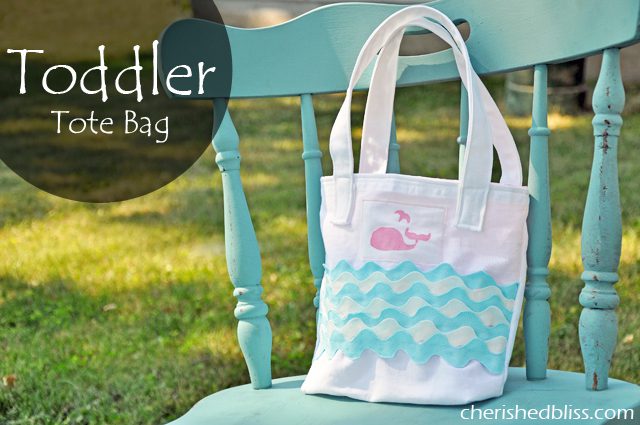
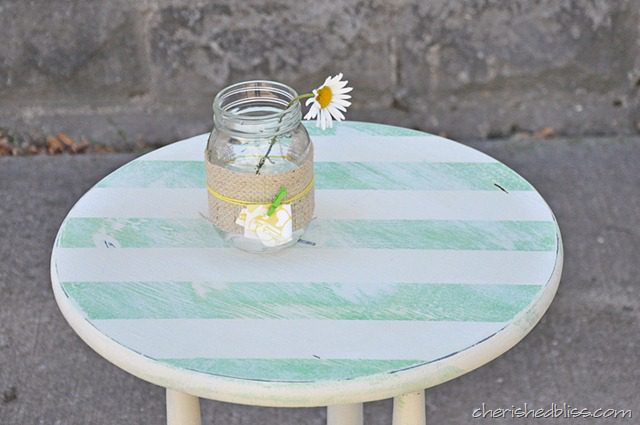
If you enjoyed this tutorial I would love to have you stop by my blog and take a peek around! Here is a little bit of what you can find over there!


Thanks so much for having Kimberly! This is such a great Series!!
Ack! The versatility kills me! How many people could you make this for?! How many cute little "somethings" could you stick inside?! Adorable. Thanks, Ashley! Check her out!

*Be sure to check the right sidebar for all the fun parties I link to!


1 comment:
Thanks so much for having me Kimberly! It was a pleasure! : )
Post a Comment