


Quite a long time ago, I happened upon this post, over at Saltwater Kids. She had made a delicious little build-a-fort kit as a birthday present, and I fell in love. I'd love to say that mine is as scrumptious looking as hers is, but I mainly used what I had on hand, and it isn't QUITE the same. But I wanted to share this awesome birthday gift idea.

(Ok, so her tags are cuter...)
This is what I put in my kit:

And this is how I packaged it all up:
First off, I made little cords out of knit. I just took some old t-shirts and cut them into strips. I pulled the strip until it curled and turned into a cute cord. I knotted the ends. Easy Shmeezy. For the clothespins and clamps, I just clipped them onto the cord and then tied the ends of the cord together. For the rope and the hemp, I coiled them up neatly, then tied them off with a cord in a bow.

I also added a cute cord to the flashlight. This flashlight was one we already had, and it was in good condition except for the nylon strap. I just untied that and slipped the cord on, then tied the ends in a knot. I love the polka dot.

I sewed some cords onto the sheets in loops. I just overlapped the ends in a loop shape and sewed a little x. I did this on all of the corners, in the middle of each side, and in the very middle of the sheet - so each sheet ended up with 7 cords. The kids can just slip the little loop over a hook, chair back, whatever and not worry about tying things off. So easy for little kids!

Then I made a little bag to keep all of the fort "accessories" in - you know, the flashlight, clamps, rope, etc.
Did I make a tutorial for you? Not really. But I drew one for you, because making a drawstring bag with a bottom like this couldn't be easier.


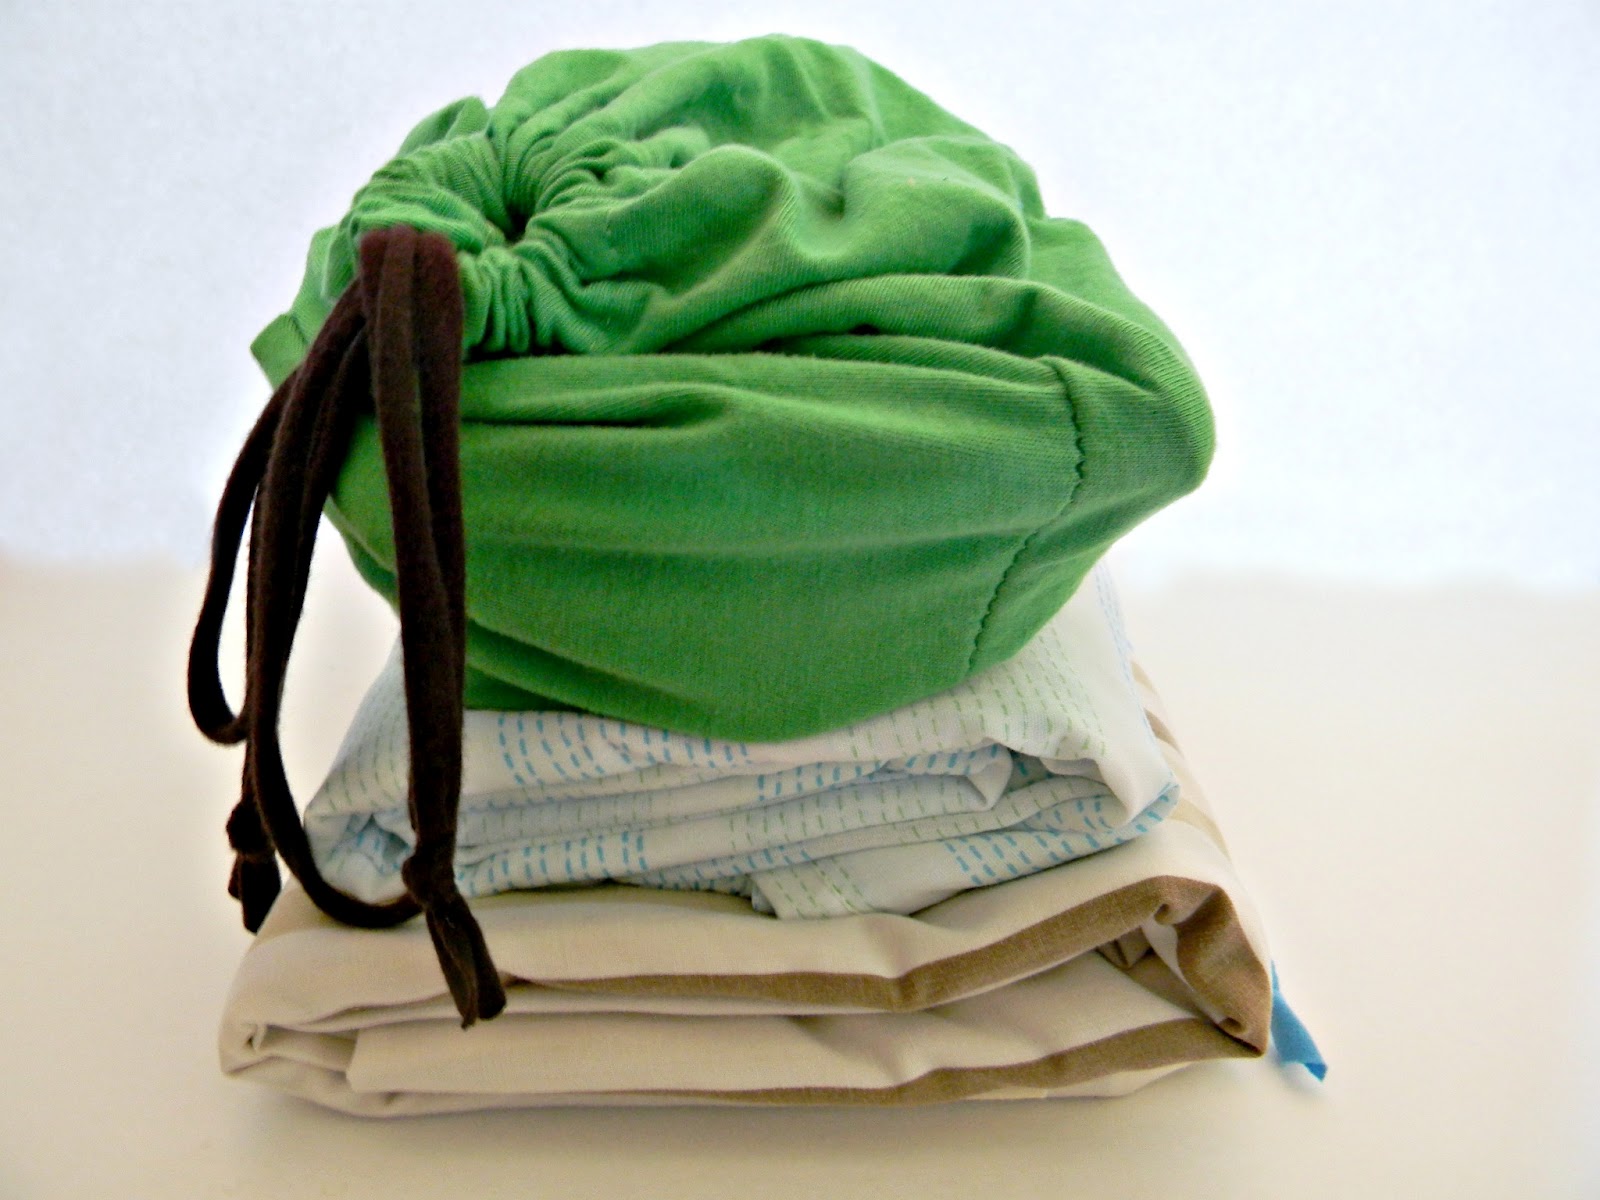
Then I made a larger version of the same bag to hold the sheets and accessory bag together. You can see that I used knit cords for the drawstrings on both bags - just threaded them through the casings and tied the ends in knots.

And here's my little kit all packaged up and ready to go off to my nephew for his fifth birthday! I hope he gets a lot of use out of it. I know I would have loved it when I was a kid!

Do you know what I love about this gift? Well, other than it's adorableness and total functionality and fun factor? There are just so few awesome ideas for handmade BOYS gifts - well, fewer than for girls, I think. Especially when the boys start getting older. But this gift would work for a boy up until they're like 13, I think.
But, you know, I don't want to be all sexist. It's good for girls too.
Actually, this was last year's birthday present - and I gave one to my niece K, too.
Want to see what I'm giving them THIS year?? Come back tomorrow!


*Be sure to check the right sidebar for all the fun parties I link to!


2 comments:
Oh em geeeeeee! Thank you for this idea, I love it! Your kit is charming and I totally admire your quick little drawn tutorial because dang it, it's summer vaca!
HOLY FORT, Batman! This is totally AWESOME!
(also, I admit, I thought it said FART in a Bag at first)
Post a Comment