


For these last few projects I really should have renamed this mini-series “so easy it’s utterly ridiculous and completely un-‘tute’ worthy.” But I’m not going to. Because that wouldn’t fit on the little square button as well.
This next project comes complete with a surprise ending. So you have to read the whole thing. I promise to not disappoint.
You may have read this post from forever ago, or maybe not, in which I tell you how to make Ruffled Ribbon Rings (just something I started to enhance my insatiable obsession with ribbon). While I was casting around for two more projects to do with itty bitty scraps, I thought, “Perfect!” And so, I give you the Ruffled Ribbon Ring Revamp (but with fabric scraps instead) - AKA “the Scrappy Cocktail Ring.”
You’ll need:
just two scraps of fabric from your thrifted shirt
a bit of 3/8 elastic
needle and thread
a bit of bling


that’s it. Oh, and a sewing machine.
(the alternative ring will require one more scrap, a purchased ring base, a sewing machine, needle and thread and a button)
So, first you’ll cut your scraps into strips, unless they are already strips like mine were. They were about 8 inches long and an inch wide. Cut your elastic to about 6 inches.
(these measurements will likely make you TWO cocktail rings, unless of course your finger is 8 inches around. Which, sorry, would be kind of weird, wouldn’t it?)
Stick one of the strips in your machine under the needle.

Now lay your elastic on top in the middle.

Lay the other strip on top of that.

You have an elastic sandwich.

Stitch forward and back a few times to tack it all together.

Hm. You can’t really see it like I thought you could... but it’s kind of a cool close-up, isn’t it?
Pull your elastic really tight with one hand and guide the fabric with your other hand as you zig zag stitch down the middle of your “sandwich.” (I use this technique a lot, don’t I?)

Now you have a cute little ruffle that’s all stretchy.

But your strips are uneven.

So, trim them up so they are nice and straight and even.

Cut your strip so that it will fit around the desired finger. I ended up cutting mine in half.
Curl it up and

hand sew the ends together.

(here is where I take just a moment to apologize for the atrocious state of my hands. They are normally clean. I’ve been spray painting another project - which you can’t wait to see, trust me - and it just won’t come off...)
You have a ring!

But you’ll want to hide that mess with some bling of some sort. Maybe some kind of button, like

a covered button - to which I glued a yellow rhinestone for some fanciness.
Alright, here’s a note. I didn’t finish off my sides or sew them together or anything, because quite honestly, I like it shabby and it didn’t seem worth it. BUT you could make a casing and then do the whole elastic ruffle thing inside the casing so it looks more finished.
Now, if this isn’t exactly your style, you could alternatively buy one of these

from your local craft store (like hobby lobby where I got mine.)
Then take a strip of scrap fabric and run a gathering stitch and gather it up.

Spiral it around into a flower shape and hand sew it together on the back.

Add a cute little button, then hand sew it onto the adjustable ring.

Voila!

Cute.
And are you ready for the surprise ending? Here it is.
As I was going to all this trouble I had an epiphany. Truly. I will share it with you because I’m nice like that.
Ahem. Knit is stretchy. I know, I know, you know that. But there’s more.
Knit is stretchy, therefore all you really need to do to make a scrappy cocktail ring is take a little strip, and tie it in a double knot.

Then trim the ends to the desired length.
You could tie a large button on to the ends, or you could cut them off short and sew or hot glue an embellishment of some sort over the knot.
But I personally like the look of the knot plain like this. I think it’s kind of cute and simple.
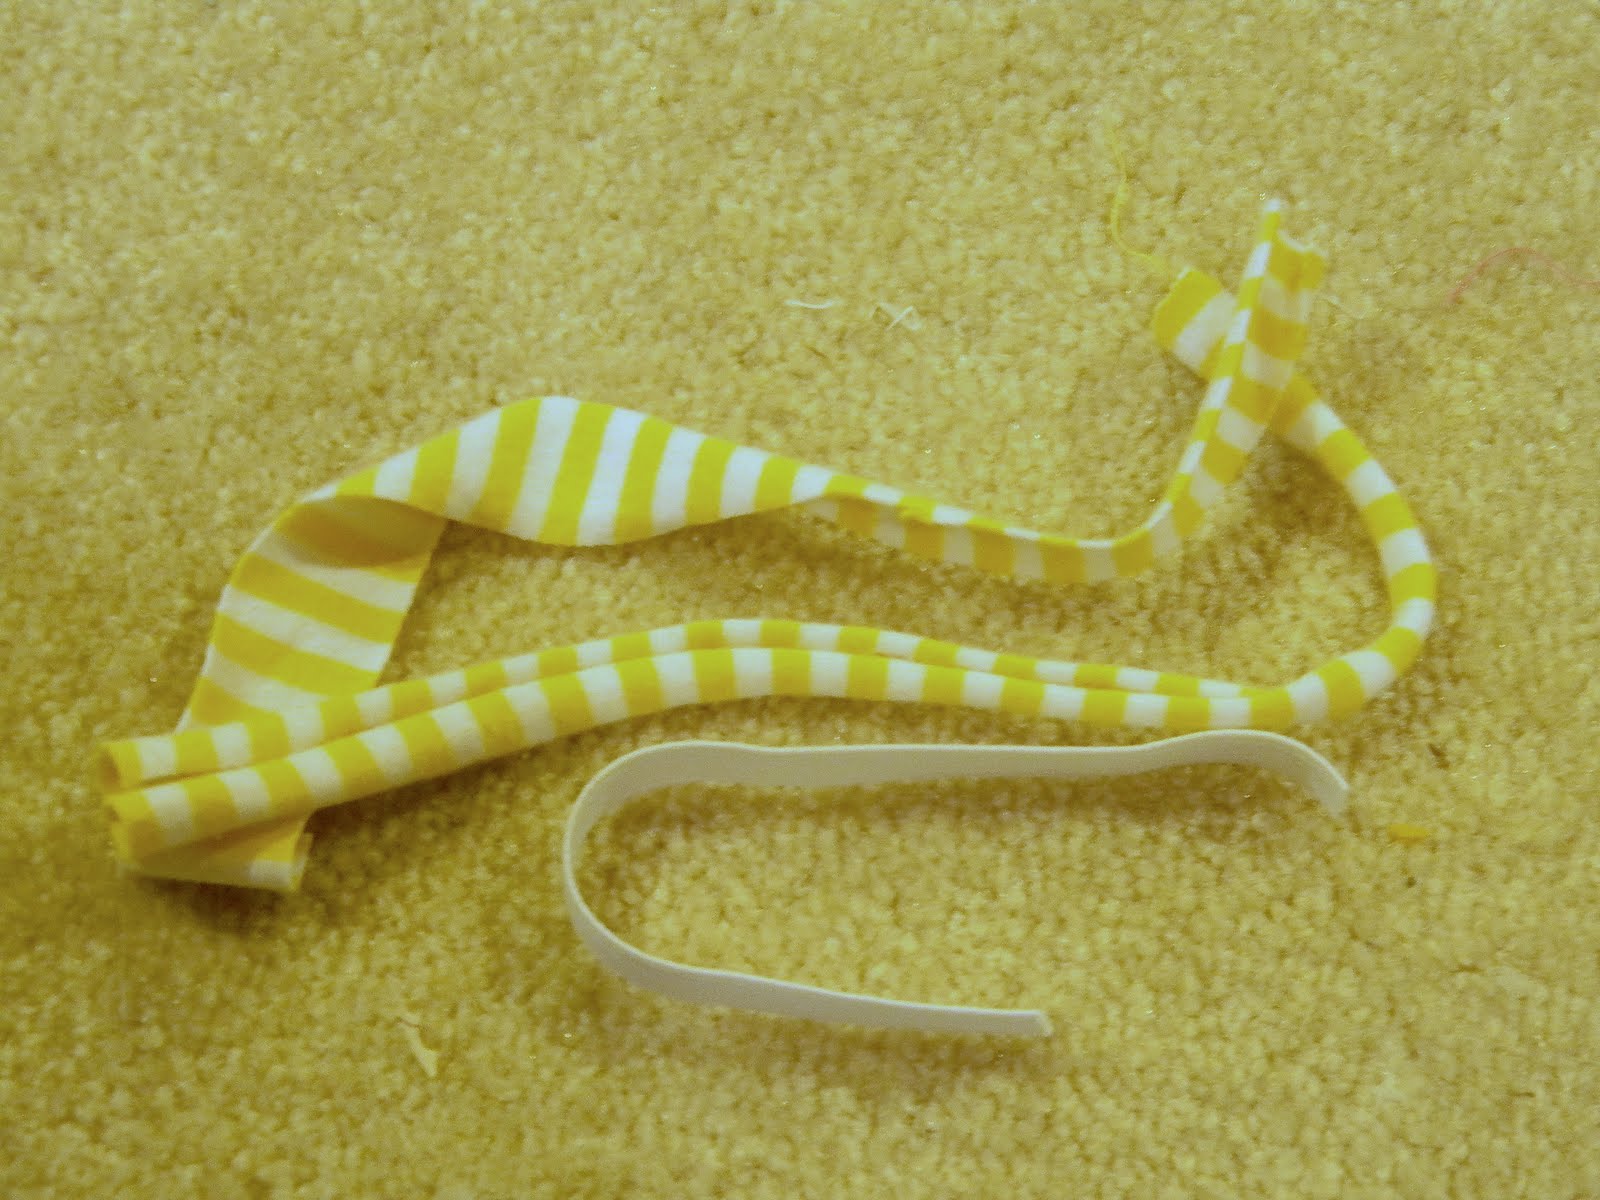
For a little more spice I tied on some of the leftover curly cues from this project.

Surprise!! I make things a lot harder than they need to be! Hm. Not much of a surprise you say? You knew that already, you say? You’re so perceptive.

Linked:
SIMPSONIZED CRAFTS AND THEN SOME


2 comments:
How cute and colorful! Saw you over at Tatertots & Jello in the link party.
I love this tutorial! It's yet another reason for me to learn how to sew.
Post a Comment