


Are you aware that I, like most of the rest of you I assume, am going absolutely stark raving mad? Are you aware that every single year, starting on December first, I tell myself that the NEXT year will be different. I will start getting ready in July - no, JUNE! And the homemade presents will be done and wrapped and sent on their merry way by November 1st - no ifs, ands or buts! Then I can make cookies throughout December and relax and focus on the things I want to focus on, like family and Santa. Just kidding. Not Santa. But definitely family. And Christ. And are you aware, that every single year I begin making Christmas presents and figuring things out no sooner than the day after Thanksgiving? Which is a far cry from June. If you didn’t know that.
Well, this is all just a lot of rigamarole for letting you know why I have, and will continue to be, completely MIA. BUT - I did want to show you one last Christmas tutorial before I, you know, lose my sanity and start swearing at my sewing machine. (I would never really do that.) (Or would I?)
I signed up for a Christmas ornament exchange over on The Rowdy Strowdy’s because I don’t have enough to do and needed to add some stress to my life, so why not agree to give 6 random strangers some homemade goodness? No, really, I signed up in November, and it seemed like a fun way to share some Christmas cheer. (Speaking of Christmas cheer, I have a whole long post just waiting to happen regarding that topic.)
Well, time to send them out rolled around and I still hadn’t had that “ah-ha!” moment. Meaning I really wanted to make them something unique and fun, and kind of ME, and just couldn’t think of a thing. But then I saw these awesome fuzzy Christmas socks at Walmart - you know the ones. The ones that you get in your stocking like every year. And for some reason I thought, now those would make a cool ornament.
I know, I know. Socks on a tree? What the what? But I’d had a vision, and it all came back to the Grinch.
Yes, that nasty old Grinch:
“Every Who down in Whoville liked Christmas a lot, but the Grinch, who lived just north of Whoville - did not. The Grinch hated Christmas - the whole Christmas season. Now, please don't ask why; no one quite knows the reason. It could be, perhaps, that his shoes were too tight. Or it could be that his head wasn't screwed on just right. But I think that the most likely reason of all may have been that his heart was two sizes too small.”
Fortunately, this story has a happy ending, and it always reminds me of the most important parts of Christmas - friends, family, and Christ. Indeed, I enjoy remembering that “Maybe Christmas... doesn’t come from a store. Maybe Christmas, perhaps, means a little bit more.”
And what better way to remind myself of this important lesson than with a Seussical Ornament? And here’s the low down.
You’ll need:
Some fuzzy Christmas socks (not the ankle socks - you need the normal ones. You can use adult or kid socks, depending on what size balls you want to make) (One pair of socks makes two ornaments)
Embroidery Floss to match
Large needle
Scissors
Heavy beading wire
Pliers
Beads to match the colors in your socks
A small length of ribbon
A tack of some kind - upholstery tack, thumb tack, etc.
And OF COURSE, hot glue
First, you’ll cut your sock. Cut the toe clean off.

And cut the bottom foot part from the top leg part, right at the heel.

Stuff your ball inside the sock and make sure it is in the middle - equal length of sock on both the top and bottom.

If your sock has stripes, make sure to wiggle the sock around until the stripes are straight and not wonky.

Take your floss and needle, and sew a gathering stitch around the top of the sock, tucking the top edge under as you do so (so it looks more “finished”).


Cut the floss, leaving a tail.
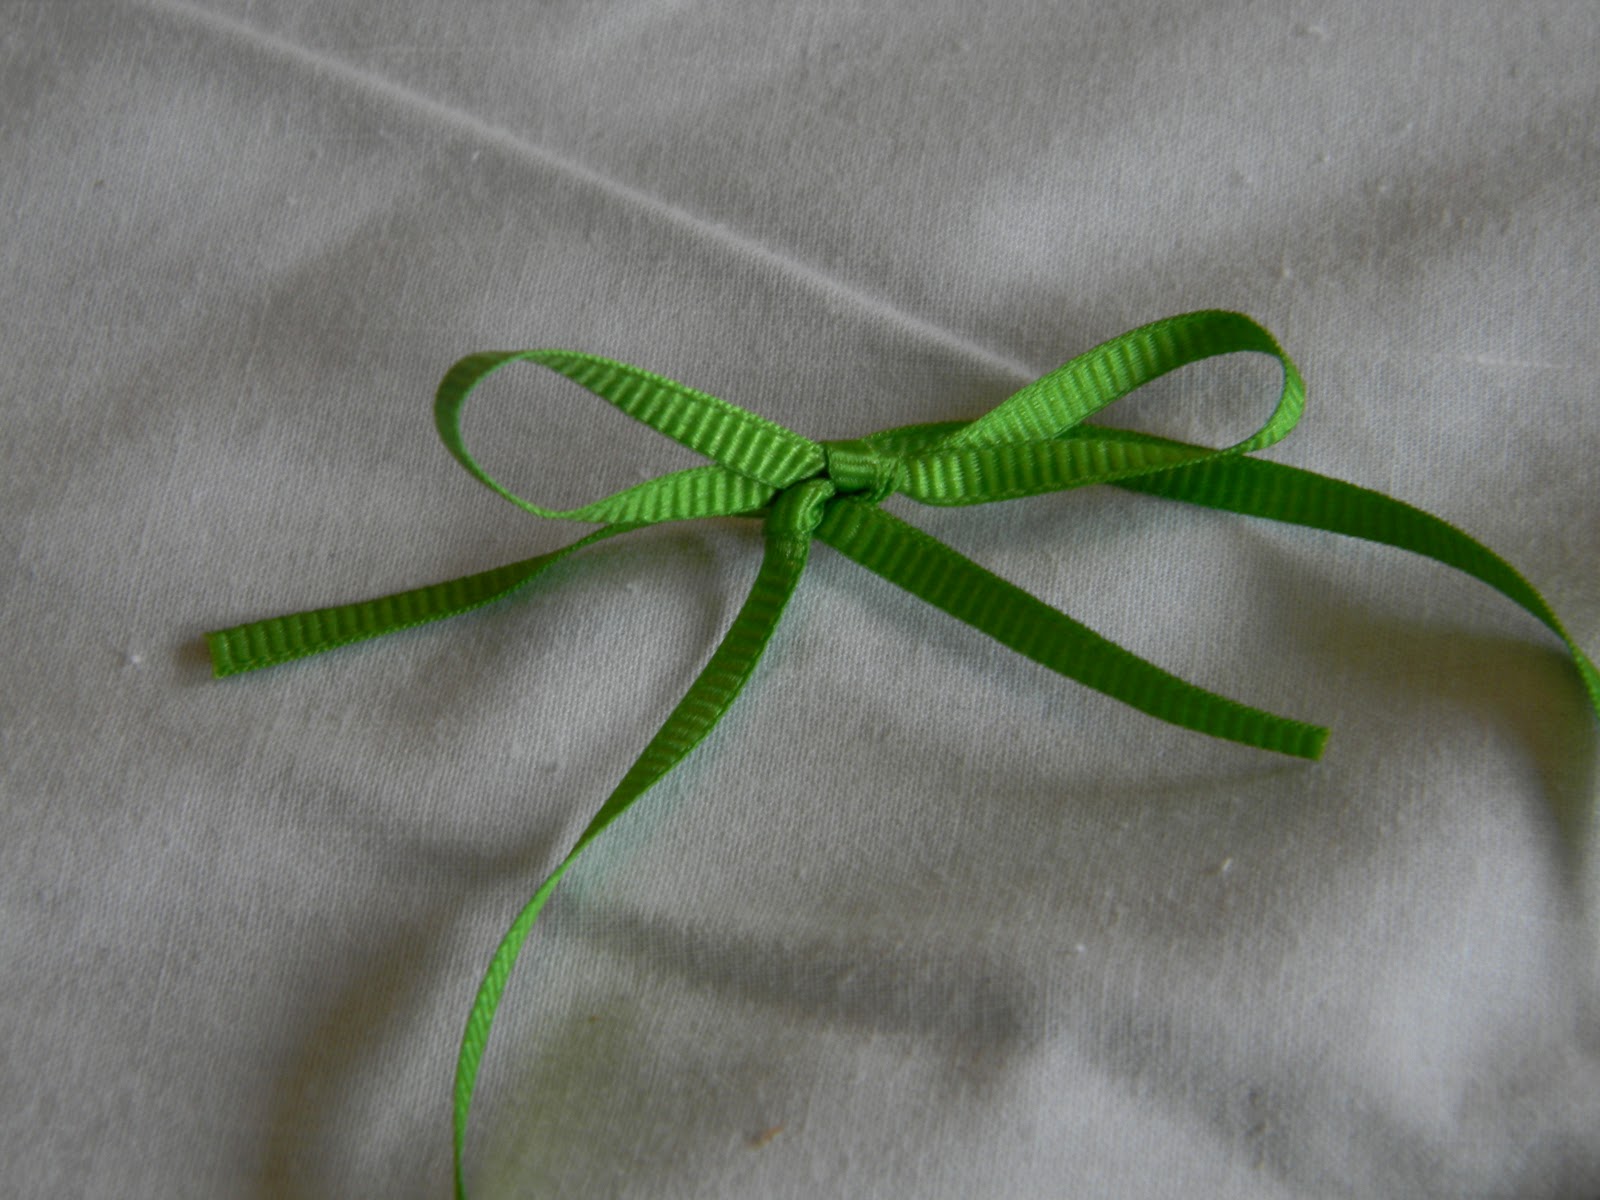
Tie the ends of your ribbon in a cute bow. (Not like this one. Cuter.)
Hold your ribbon on top of the ball.
Dab some hot glue on the pointy part of the tack

and stick the tack into the top of the ball, through the ribbon. The hot glue will help hold the tack and ribbon in place more securely.

Now, pull your gathering stitch tight. Tie off the ends.

Sew a gathering stitch around the bottom part of the sock, folding the edge under just as you did with the top.
Cut the floss, leaving a tail.
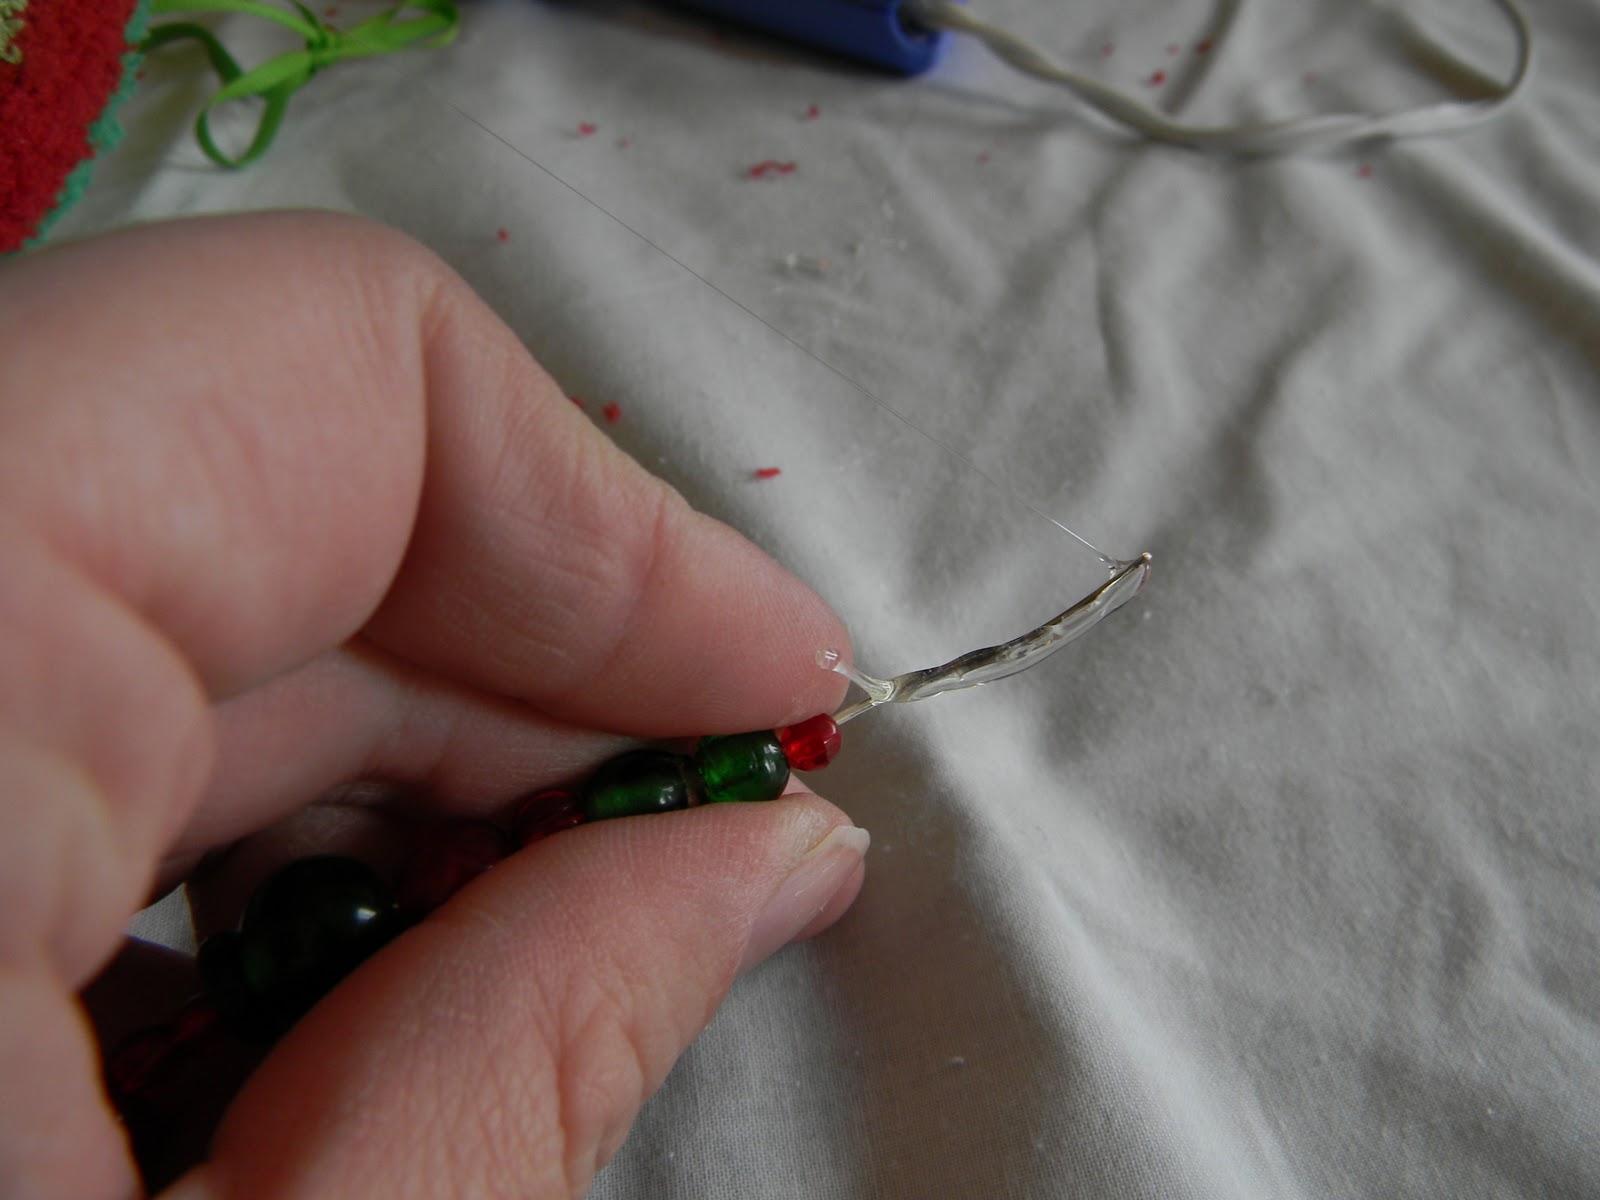
Cut three lengths of heavy wire - about three inches long or so.

Using a pliers, turn the end of the wire up and around, making kind of a curl, to form a stop for the beads.

Now add beads to your wire, in a random pattern. I used all circular beads because I thought it was more Seuss-ish, but that's just me.

Leave about 1/4-1/2 inch of the wire unbeaded.
Dab some hot glue on the unbeaded part of the wire
and stick it into the bottom of the ball, pushing it as far as it will go up to the beads.

Do this with all three wires.

“Curl” your beaded wires. Just bend them into corkscrew shapes. Pull the gathering stitch tight and knot the ends.

The wires shouldn't look identical. They should be slightly different lengths, different bead patterns, and different directions and curliness with the corkscrews.
The kid's sized socks are great with smaller styrofoam balls.

That’s it!


And, when I showed my sister without telling her the inspiration, she said, "They look Seuss-ish!" AND my husband said, "They look like Dr. Seuss." (much less excitedly than my sister, hence the lack of exclamation point. For five years we've been working on the "excitement factor" which in our marriage is totally different than what you're probably thinking. For us, working on the "excitement factor" means training mr when he should be excited - i.e. when I make something I think is cool - and how he can show it. It's a work in progress.) POINT BEING, they totally saw what I was going for, so I guess it was a success!
I got this idea that it would be really fun to have a whole “Seussical” tree. You could get those sparkly pokey stick things that are all curly, and use these fuzzy, stripey balls, and maybe even make shrinky dink Seuss characters! How fun would that be? Don’t steal my idea for next year... (actually the shrinky dinks were my sister's idea, I never would have thought of that...)
I sent these off to my ornament partners, hoping they got the humor AND the message. I included the absolute best lines from the entire Grinch movie:
“But this... this sound wasn't sad. Why... this sound sounded glad. Every Who down in Whoville, the tall and the small, was singing, without any presents at all! He hadn't stopped Christmas from coming, it came! Somehow or other, it came just the same...
He puzzled and puzzled till his puzzler was sore. Then the Grinch thought of something he hadn't before! Maybe Christmas, he thought, doesn't come from a store. Maybe Christmas... perhaps... means a little bit more!
And what happened then? Well, in Whoville they say that the Grinch's small heart grew three sizes that day. And then - the true meaning of Christmas came through.”
And although I hope to be back with a post or two before Saturday, I’ll let you know now that I wish you a very, very, Seussical and Merry Christmas.


4 comments:
I'll tell you what! I love them.
Mine looks super duper fantastic hanging on my tree. It might be my favorite ornament of the year. THANK YOU SO MUCH!
You are the best!
Love ya!
Jackie
1. I'm going crazy too
2. Love the ornaments and the message behind them
3. Dying laughing over the excitement factor!
xoxo
Sooo cute! I've actually seen a Seuss Tree! There was one at the festival of trees in my city this year. It even curved at the top!! I love that these balls you made are super light so that you could put them on a real tree (I find that some ornaments are better suited for artificial trees because they're too heavy!)
Those are the wonkiest things I've ever seen, and we like wonky over here!
Post a Comment