Thursday, February 19, 2015

(Understated) Glam Pinecone Wreath


I made a wreath!  I've shocked you all, I know.  They're almost my favorite thing to make.  Besides chocolate cake.  Nothing beats chocolate cake.  
But door decor is pretty much the homey-est thing you slap up on your house.  Want your house to say "welcome!  We like it here!  We hope you do too!"  Make a wreath.  Put it on your door.  Done.
If you'd rather your house say "Go away, I'm taking a nap." well, I can totally understand that.  But a wreath won't help.


I started by gathering a bazillion pinecones.  I actually used them for a different project first, and kept the nicest ones for the wreath.  I don't actually have any pinecones like this in my yard, and because it seemed absolutely ridiculous to pay for them at Joann's, though I knew I could, I drove out to my church building and ran around all the pine trees with a huge bucket.  
I did this during the day, and my church building is on a fairly busy highway, so I'm a little surprised no one called the police with my suspicious activity.  Surprised, but grateful.

 After collecting the pinecones, I sprayed them a bright metallic silver.  Nice and shiny!

For the wreath form base, I used a flat chipboard circle I got at Hobby Lobby.  It wasn't very pricey, and though I usually use foam forms I get at the thrift store for like 25 cents, I "splurged" this time because the flat, sturdy, light and NEW chipboard form was beckoning me.

First, I wrapped the whole thing in gray yarn for a nice cozy coverage.  You can sort of kind of see it in this picture if you tilt your head to the right and squint really hard.

I started with the outside ring of cones.  I used the largest ones on the outside layer, and tried to space the extra largest ones evenly around the circumference.  I used hot glue and just held each cone in place for a couple of seconds until it was grippy.  Then I worked on the inner ring of cones, which I had saved the smaller sizes for.  I used hot glue, and placed each cone in between two of the larger cones, kind of smooshing it in there.  It worked really well, the uh, what are those?  The petal things slid in between each other really nicely and added even more gripping power.  

Those pinecones aren't going anywhere.

So there you have it.  My Understated Glam Pinecone Wreath.  It's all silvery and wintery.  Which was nice and elegant-ish in like December.  Even January.  Now??

Now it's just depressing.

Come on, excruciating cold!  Give it up already!


*Be sure to check below for all the fun parties I link to!*

Tuesday, February 17, 2015

Wrap 'em up and Round 'em up!


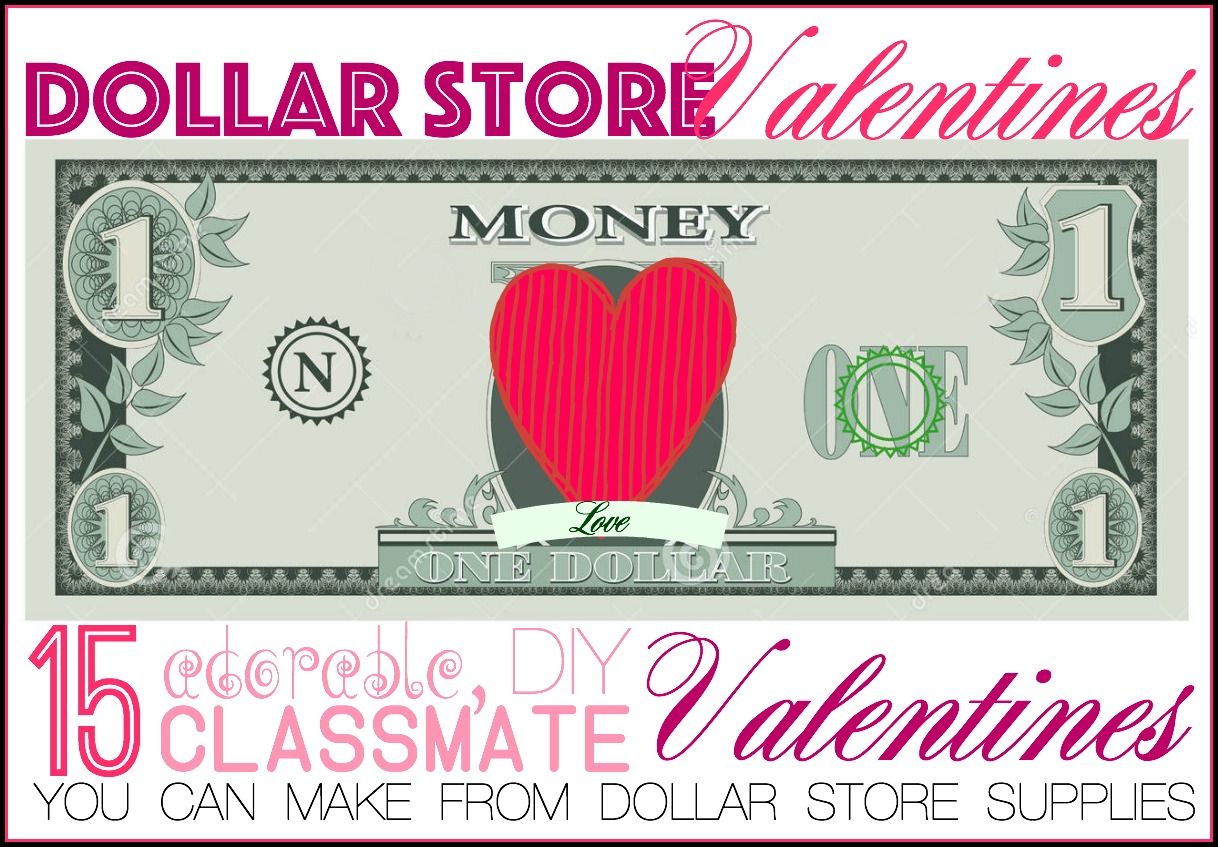
So, we have come to the end of our little valentines series.  If you aren't aware of the nature of the series, I shared some DIY valentines you can create (with very little effort, I might add) from dollar store materials.


Here's a quick wrap-up of all the projects:

Hoppy Frogs
Tattoos
Bubbles


Stretchy Dinosaurs
Helicopters
Butterflies 
Cute Erasers - 3 Ways
Cars
Crazy Straws 
Sunglasses
Airplanes
Marbles


Yo-Yos 


Slinkies
Pens


Well, you've no doubt 
had enough of Valentines for the year.  Maybe too much.  Maybe you're so sick of Valentines you're gonna boke (the word we have to use for throw up because my daughter will have a panic attack if she even hears "throw up." Apparently it's Irish?) 
But I just couldn't resist finishing up this little series with a good old fashioned round up!  You know how much I love those!  Here are several MORE valentines you can make after a trip to the dollar store.  

Watercolors by Smart Schoolhouse
Wooly Sheep by Hello, Wonderful
"Tu tu" Scrunchie by The Nature of Grace
Google Eye Cards by Raeann Kelly
Candy Robots by Lisa Storms
Rulers by Re:Located Living
Play Doh by Grace and Good Eats
Colorful Gluesticks by Re:Located Living
Pack of Gum by Mommy Musings
Cute Pencils by Or So She Says
Nail Polish by Simply Kierste
Sea Creatures by Haley's Daily
Big Dinos by Simmworks Family Daily Blog
Clothespins by DIY Inspired
Yoda Glow Sticks by design. wash. rinse. repeat.
Socks by 30 Handmade Days
Bouncy Balls by Paging Super Mom
Crayons by Simply PChee
Balloons by Willowday
Erasers by Re:Located Living
Army Men by Love and Marriage


So you can get a jump on next year.  Ha!  


*Be sure to check below for all the fun parties I link to!*

Thursday, February 12, 2015

BONUS! Pen valentines for the teacher!


Thought I was going to stop at 15, huh?  Just because the initial announcement said "15"?  Psh.  I'm a rebel.

I came up with (what I think) is a pretty cute teacher valentine!  It's not going to make them fat, it's not expensive, it's not mushy gushy (that would be my son talking again...), it's useful, it's something they need, and it's cute!
So if those aren't enough reasons for this bonus DIY valentine idea (that can still be made from dollar store materials, mind you) then I don't know what'll convince you!

If your kiddo's teacher is stu-PEN-dous, this is the valentine - and free printable! - for you!


So you can really package them up two different ways.

First, you can give your teacher a whole pack of pens.  You'll need a hole punch (preferably small), twine, pens and the printable card.

Simply punch two holes at the top of the card across from each other horizontally.  Then punch two holes in the pack of pens directly under those holes.  Wrap twine through all of the holes (I wrapped it around the whole package twice) then tie in a bow on the front.

Or, you could just give a single pen - a great option if your child has more then one teacher.
For this option you need the pens, printable card and a craft knife.

Then you just slice two slits in the card, one at the top middle and one at the bottom middle.  Make sure you make the slits long enough to make up for the diameter of the pen. (I find you usually have to make them a little longer than you think you do.)  Then just stick your pen through the slits.

 Voila!  A teacher valentine!

 I think these would make super cute classmate valentines, too (which is why I made the printables a little generic, no "teacher" or anything...).
Just buy a BIG pack of pens and slip one in each card.

Here are the last valentine printables I'm giving you!
Stupendous Pink and Purple photo pen1_zpsm2quxbrn.jpgStupendous Coral Mint and Navy photo pen2_zpseqe2frsv.jpgStupendous Classic photo pen3_zpse3thwkk3.jpgStupendous Pink Blue and Teal photo pen4_zps9ifgdwff.jpg


This post is part of a series about Dollar Store Valentines!


*Be sure to check below for all the fun parties I link to!*

Wednesday, February 11, 2015

Marble Valentines!


I've finally done it!  I've had an original valentine idea!  I think... don't burst my bubble if I'm wrong on this one, ok?  Just let me live in blissful creative ignorance.
I snatched up a big bag of marbles on my quest for cute dollar store valentines, not sure exactly how I'd put them to use, but I'm pretty happy with the result.

You'll need a stapler, double sided tape, a clear celo bag (you CAN buy at the dollar store), marbles and the printable cards.

And with just those materials, you could make 10 valentines - or more!  So you could spend as little as $2 on a whole classful of valentines!  AND they're original!  AND they're cute!  AND they're actually fun to play with!


Okey doke.  I decided to place 5 marbles in each bag (hence the 10 valentines per one big bag of marbles.  Obviously you can decide how many to put in each bag and create more or less valentines accordingly.  Then I simply created the valentines as per The Method.  You know the one.

And there you have it!

If you have a small class or are only making these for a few kids of your own, you could attach a card to the entire bag of marbles, with instructions on how to actually play - which would be totally fun.

And, of course, I've got some printables for you.
marble valentine turquoise green and navy photo marbles2_zps7air54bw.jpg
marble valentine green orange and navy photo marbles3_zpsdeorx7rw.jpg
marble valentine pink and navy photo marbles4_zpstd8lmdn3.jpg
marble valentine pinks photo marbles6_zpse3n9ma8c.jpg


marble valentine coral and navy photo marbles1_zpsuqu68lbf.jpgmarble valentine traditional photo marbles5_zpstmyimy8o.jpg


This post is part of a series about Dollar Store Valentines!


dollar store valentines photo dollarstoreValentines_zps8ad2c7dd.jpg


*Be sure to check below for all the fun parties I link to!*
Related Posts Plugin for WordPress, Blogger...