I'm not embarrassed to admit I steal some pretty awesome ideas. Probably because I've already admitted it before... like a dozen times.
So this gift idea is no different. I saw it, I pinned it, I made it last Christmas for my sis-in-law.
You can find the original idea on The 36th Avenue. Which is full of ridiculously awesome gift ideas, by the way.
So, first of all, here's a list of "ingredients" (ha!) and where you can get them on the cheap:
memo book - Target, $.59 (when I got mine they had a ton of different colors and were on sale)
white circle sticker labels - Walmart, $1 and change for a pack of a hundred-ish?
wooden spoon - Walmart, $2.88 for a multi-pack of 5
washi tape - Target, They totally don't have this anymore (sad face), it was one of the packs of 4 or 6 or something
paperclips - Walmart, $1 and change for a ton
pencil - Target, $1 for 3
ribbon - huge pack of multicolored ribbon at TJ Maxx for $9.99
So.
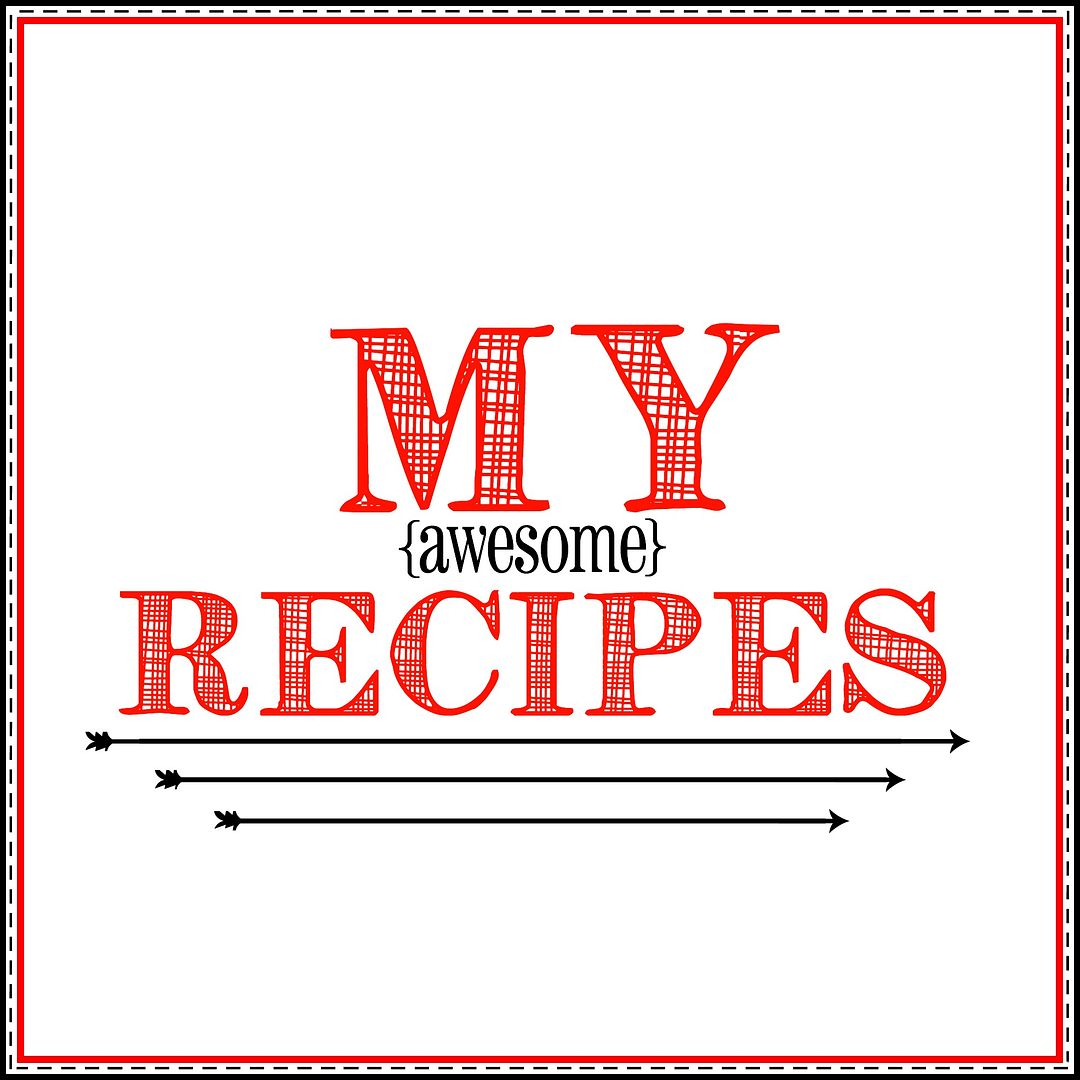
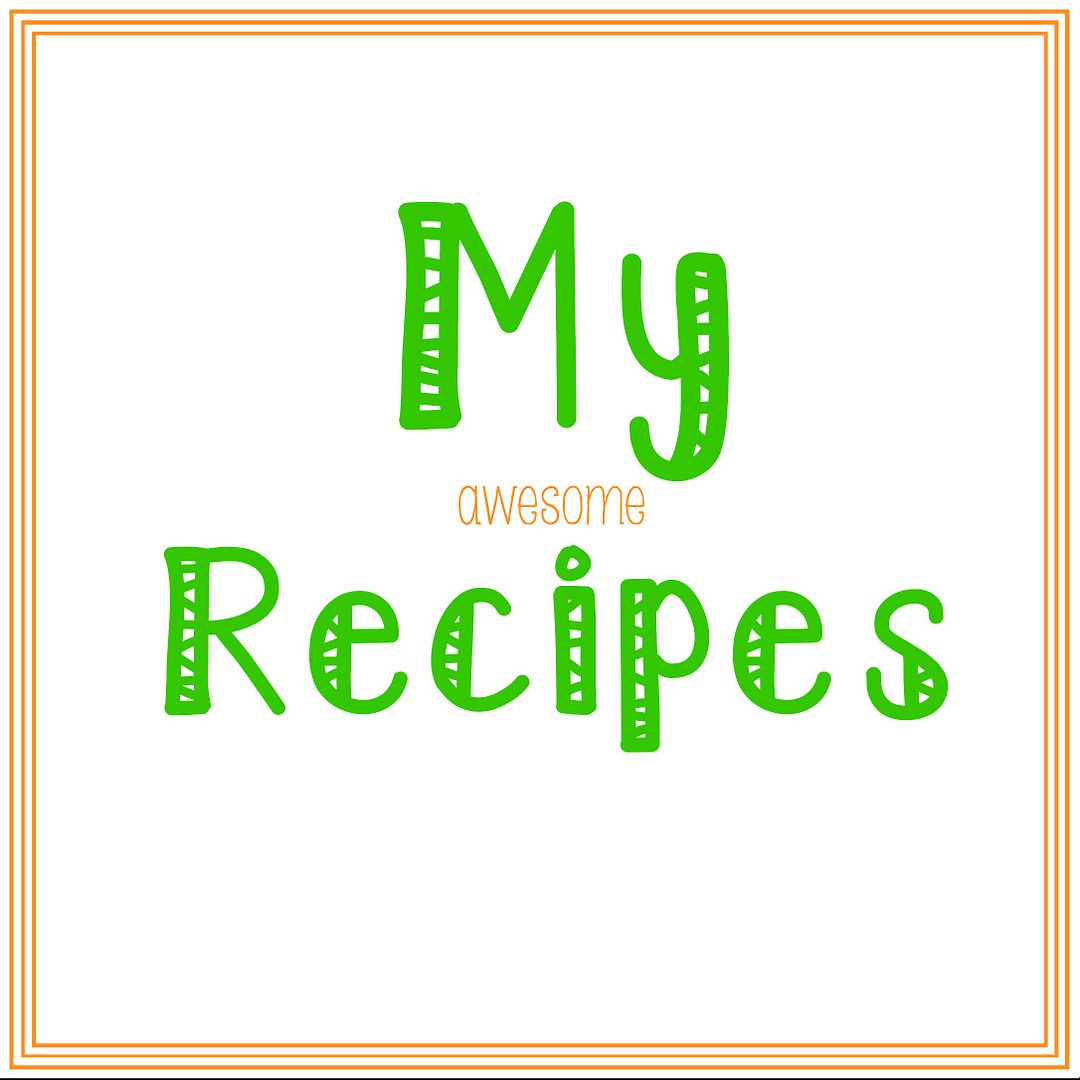
Firstly, make a title page on your computer. I just used my own word processor (pages for mac).
But, let's say you don't want to make your own. I've got you covered:
Then just print your title out on normal paper and use your favorite adhesive to stick it on the memo book. I used double sided tape.
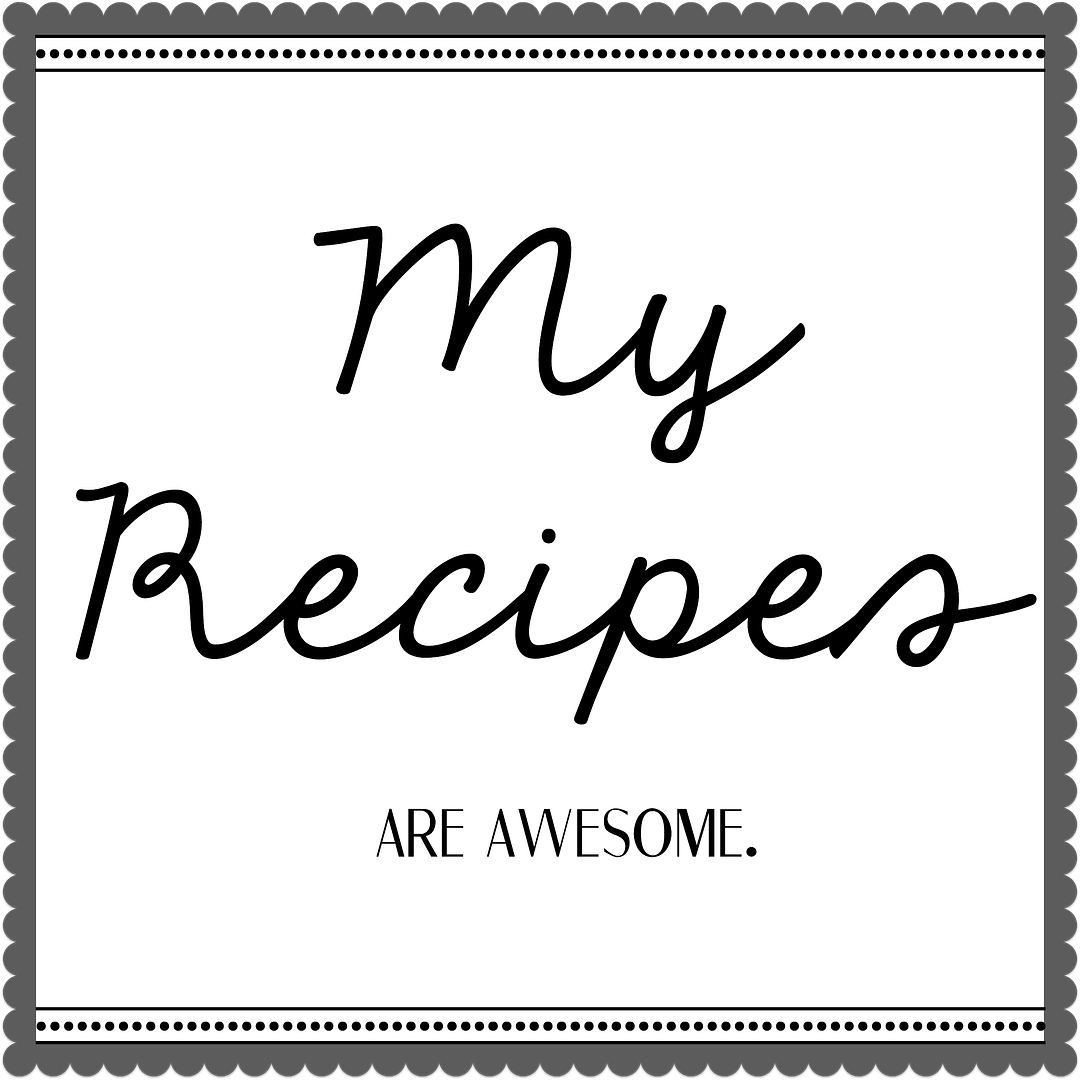
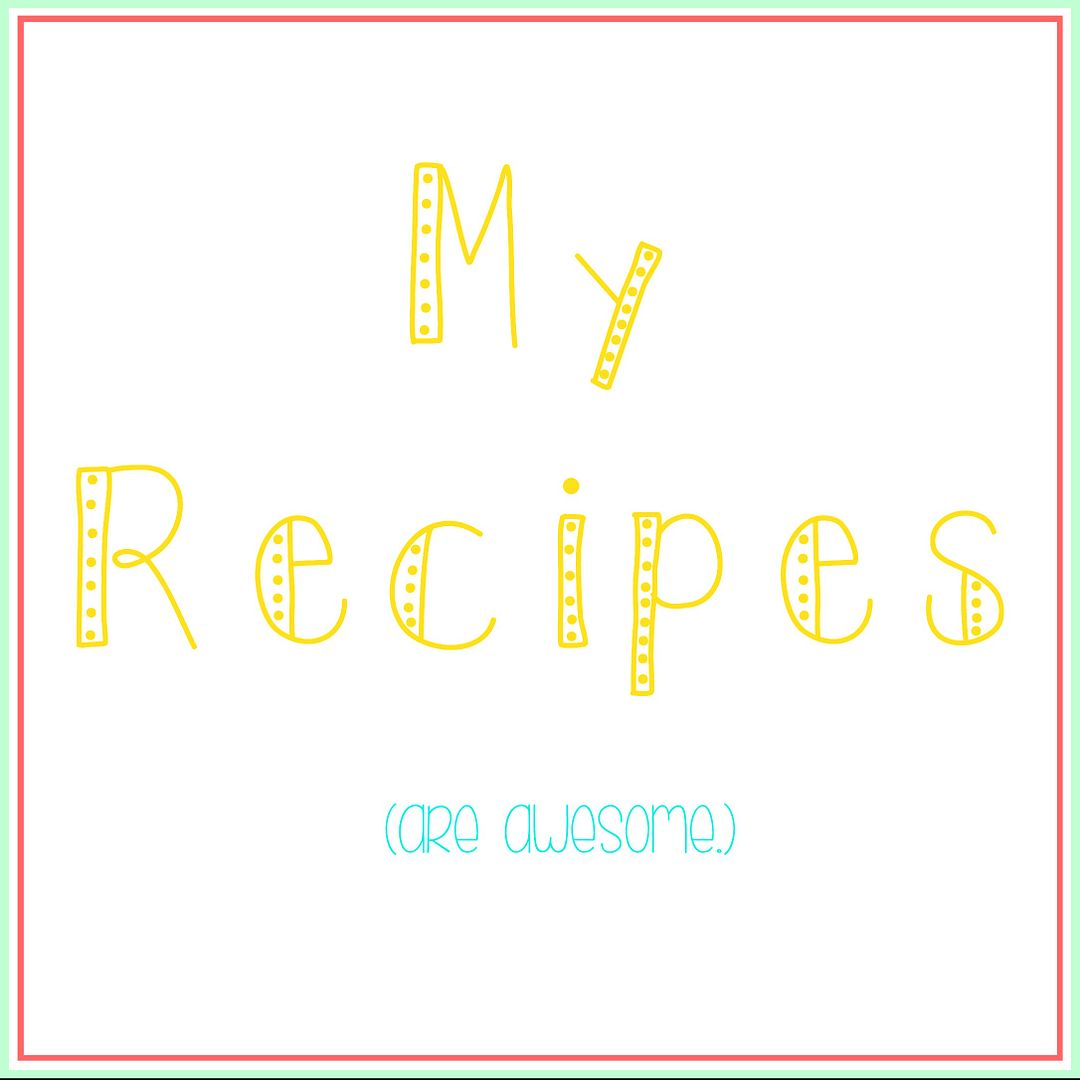
But, let's say you don't want to make your own. I've got you covered:
Then just print your title out on normal paper and use your favorite adhesive to stick it on the memo book. I used double sided tape.
Decorate your wooden spoon with a few pieces of washi tape on the handle.
Slice two small slits in the front cover toward the top parallel to each other with an exacto knife.
Slide your ribbon through the two slits so the two ends come out in the front.
Place your decorated spoon in between the two ends of ribbon and tie a bow around it, attaching the spoon to the cover. CUTE.
Decorate the memo book with the white label stickers.
Now, for the inside:
Divide the papers into sections and on the first page of each section, wrap a piece of washi tape from front side to back side. I started at the top of the paper with the first section, then with each subsequent section I moved the position of the tape down a little.
Then I slipped a paper clip over the tape in each section. This allows the recipient to either use your categories or make their own.
Slide a cute little matching pencil on the cover and you're good to go!
(thanks for the idea, 36th Avenue!)

*Be sure to check below for all the fun parties I link to!*






No comments:
Post a Comment