Pages

Sunday, August 31, 2014

a one of a kind wedding gift.


Long ago, while trolling around pinterest, I came across a mini little canvas art thingie and loved the quote.  It looked something like this: You + Me = Oui!
And I decided right then and there that I'd incorporate that into my home somewhere, somehow.  It's just so darn sweet.

So even though this project isn't exactly for me, and even though I don't speak French, I was excited to create some wall art using aforementioned adorable quote.  

This was created as a wedding gift, but could easily be used for an anniversary present or even for Valentine's Day (how fitting, considering the roundup we just had??  And the awesome part about it was that it cost me exactly $0 to make, since I used things I already had.  Don't tell the happy couple, ok?  It did cost me considerable time, effort and muttered fake curse words.  So, I've got a tutorial for you!


And though I was actually muttering and sputtering under my breath through parts of this, it's actually quite easy to make.  I just make things a lot more difficult than they need to be nearly 100% of the time.  Fortunately I've cut those portions out of the step by step.

Here's what you'll need.

TOOLS:
Palm Sander
Drill (with both a drill bit and a screwdriver bit)
Circular Saw (or other wood cutting type tool of your choice)
Also, you will likely need a hammer.  It's not pictured, but I'm pretty sure I can trust you to envision that.

MATERIALS:
reclaimed wood of some sort
a bit of plywood or other thin, sturdy, mediumish-largish rectangular reclaimed wood
screws
1 firring strip
two small nails
sandpaper
white paint
paint brush
pencil
white Christmas lights

Do not be intimidated by the length of this list.  Trust me.  The good thing about this project is that you can pretty much do whatever the heck you want as long as you use the same general basic steps.

A note about reclaimed wood:
I used the top of a fence panel.  We put up a fence about 3 or 4 years ago and kept the two extra panels we didn't use.  I had my husband cut one of the panels down for this reclaimed wood family tree I carved.  So I had the top portion laying around.  I used it to create the backdrop for the golden birthday party I threw for my BFF a few years ago.  Once all the paper was stripped off, I had this ugly half fence panel with bits of paper and lots of hot glue stuck all over it.  Which means any normal person would throw it away.
But thank goodness I didn't.
A note about Christmas lights:
I used the ones on a white cord because I wanted the cord to blend into a light, neutral wall color.  Lots of walls are white, right?  Anyway, you can go with the normal string of lights if you want to.  I used one I had on hand already.

So.  Let's get started, eh?
1. Start with your partial fence panel.  Clean it up a bit by getting rid of the hot glue clumps and stuck on paper.
2. Pull each fence slat off of the panel.
3. Hammer all the nails out.
4. Give it a very quick sanding with the palm sander.  (you want it to look rustic, but you also don't want anyone to loose a hand due to giant slivers.)  Then, and this may seem silly since you just sanded it, but you might want to add some small holes with nails or a drill and hammer and gauge some spots, or sand more heavily in certain areas.  You know, rough it up.
5. Take the back support board and remove any nails.
6. Cut the support board in half with the circular saw.
7. Decide how you want to lay your panels laid out.  I decided to lay all of mine so the curved edge was like a scallop down the side, but I alternated whether the back or front of the board was showing.
8. Lay your boards face down in the right position, touching edge to edge.  Place your two pieces of support board on the right and left edges.


9. Lay your plywood piece on top of this and mark the edges so you know how big to cut it.  It doesn't need to cover the entire back, but it should come up at least half way and overhang the two support boards just a smidge.
10. Cut the board to the right size using the circular saw.
11. Lay the plywood on top of the support boards.
12. Screw the plywood and the support boards down into the separate slats using long screws, but not so long they poke out the front.  Make sure you screw into each board (I actually used two screws per board - top and bottom).
13. Cut the piece of firring so it fits between the two support boards.
14. See how there's that space there between the slats and the back piece?
15. Push that firring strip into the space - you're making a "bottom".
16. Use the nails to nail the firring strip into the support boards.

17. Use a pencil to lightly write out your quote and figure out the spacing and such.
18. Paint over the pencil lines with white craft paint.
19.  You may need a second or even third coat.
20. Add details to the lettering so they're different "fonts".

Also, it may be important for you to know that if you use craft paint, as long as it is still wet it's fairly easy to rub off with a wet paper towel or clorox wipe.  You know, in case you accidentally misspell the most common word in your native tongue.
Sonofa... yeah.  That happened.

 But I fixed it!

Now, the fun part.  
21. Take your drill and make holes all along your word "oui".  I didn't measure and mark for exact spacing, I just went at it.
22. Drill a large hole in the bottom center.
23. You can see that the drilling left some jagged, slivery holes.  Yikes.
24. Use a piece of sandpaper to hand sand down the holes you drilled.  Smoooooth...
(You probably also want to sand down the whole thing again, just to make sure you don't cause serious pain with your "rustic" reclaimed wood)  Then, do some paint touch ups where needed.
25. Stuff the Christmas lights down in between the plywood and the front slats.  You may need either a. a super skinny arm or b. a long, thin stick.
26. Pull the plug out through the hole in the bottom.

DONE!!  Yeah!!

Plug 'er in!

 Ooooh, ahhhh!  Cute, right?  When on display, pair it with a cute photo of the happy couple.
(back when they were young, wrinkle free and thin.)  If we could do it all over, we'd say oui again!


And there you have it!  A piece of rustic, sweet and lovely, reclaimed wood wall art for some special someones.  Something they can use to dress up their new home and life together.

And I used power tools.  And overcame my fear of the circular saw.  Huzzah!


gift it. 2014 button photo 0ffd9711-0261-4e13-9866-83ff36f6739d_zps43748e9a.jpg


*Be sure to check below for all the fun parties I link to!*

Saturday, August 30, 2014

Oh, so Lover-ly...


Chances are, you've got a wedding or two on the books, and if even if you don't, there's always an anniversary you'll need a gift for - yours or someone you love.  And there's always Valentine's Day!  If you come up blank on ideas for whatever LOVEly day you're anticipating next, never fear.  I've got you covered.  There's something for everyone with these 30 DIY ideas!


1. Love You To Pieces Puzzle DIY - All For the Memories
2. My Heart Belongs To You Necklace - Live it. Love it. Make it.
3. Love Notes Mini Book - Country Chic Cottage
4. Bear Hug - Studio DIY
5. Anatomical Heart Pillow - Hearts and Sharts (perfect if your significant other is nerdy, like mine.)
6. Woodgrain Notebooks - Damask Love
7. Clay Heart Necklaces - The Pretty Life Girls
8. Love Embroidery - While Wearing Heels
9. Valentine's For Men - Please Note
10. I'll Tumble For You Game - Tried and True


1. Floor Tile Mosaic Coasters - Cottage Market
2. Foldable Serving Tray - Monsterscircus
3. Mr. and Mrs. Mason Jar Goblets - Style Me Pretty
4. Paper Flower Wall Art - Grey Luster Girl
5. Hand Painted Flutes - Kristi Murphy
6. Copper Vase Cluster - Monsterscircus
7. Love Tree Wall Art - Infarrantly Creative
8. Wood Stake Doormat - Remodelaholic
10. DIY Photo Clipboards - Love Grows Wild


1. Heart Mug - Pen & Paperflowers
2. Rock Messages Candle Holder - Sare Shares
3. Sewn Map Art - Martha Stewart (sew along the path between the places you've lived over the years, or a special trip you took together.)
4. Custom Photo Keychain - Sugarbee Crafts
5. Heart Cork Board - Things Dee Loves
6. Mason Jar Photo Holders - Style Me Pretty
7. Nuts About You Jar - Designing and Diapers
8. Heart Pillows - Kristi Murphy
9. Apple of My Eye Gift Kit - Merrythought
10. Washi Tape Frame - Bombshell Bling


Hope you've gotten enough inspiration for your next day of love!

gift it. 2014 button photo 0ffd9711-0261-4e13-9866-83ff36f6739d_zps43748e9a.jpg


*Be sure to check below for all the fun parties I link to!*

Friday, August 29, 2014

Gadget Lover Gifts - Melly Sews


Today, Melissa from Melly Sews has a great post for us!  She did a fun round up of gadget gifts that any electronics lover will flip for!


Hop on over to her blog for the details!


*Be sure to check below for all the fun parties I link to!*

Thursday, August 28, 2014

A Birthday Surprise Lunch (and free printables!) - Kimbo from A Girl and a Glue Gun

Kim from A Girl and a Glue Gun is here today!  Yea!  And she's got an amazing (and simple) idea for kid birthdays!  (Seriously, I never would have thought of this and it makes me feel like such a lame mom...)  Plus she made free printables for us.  Seriously.


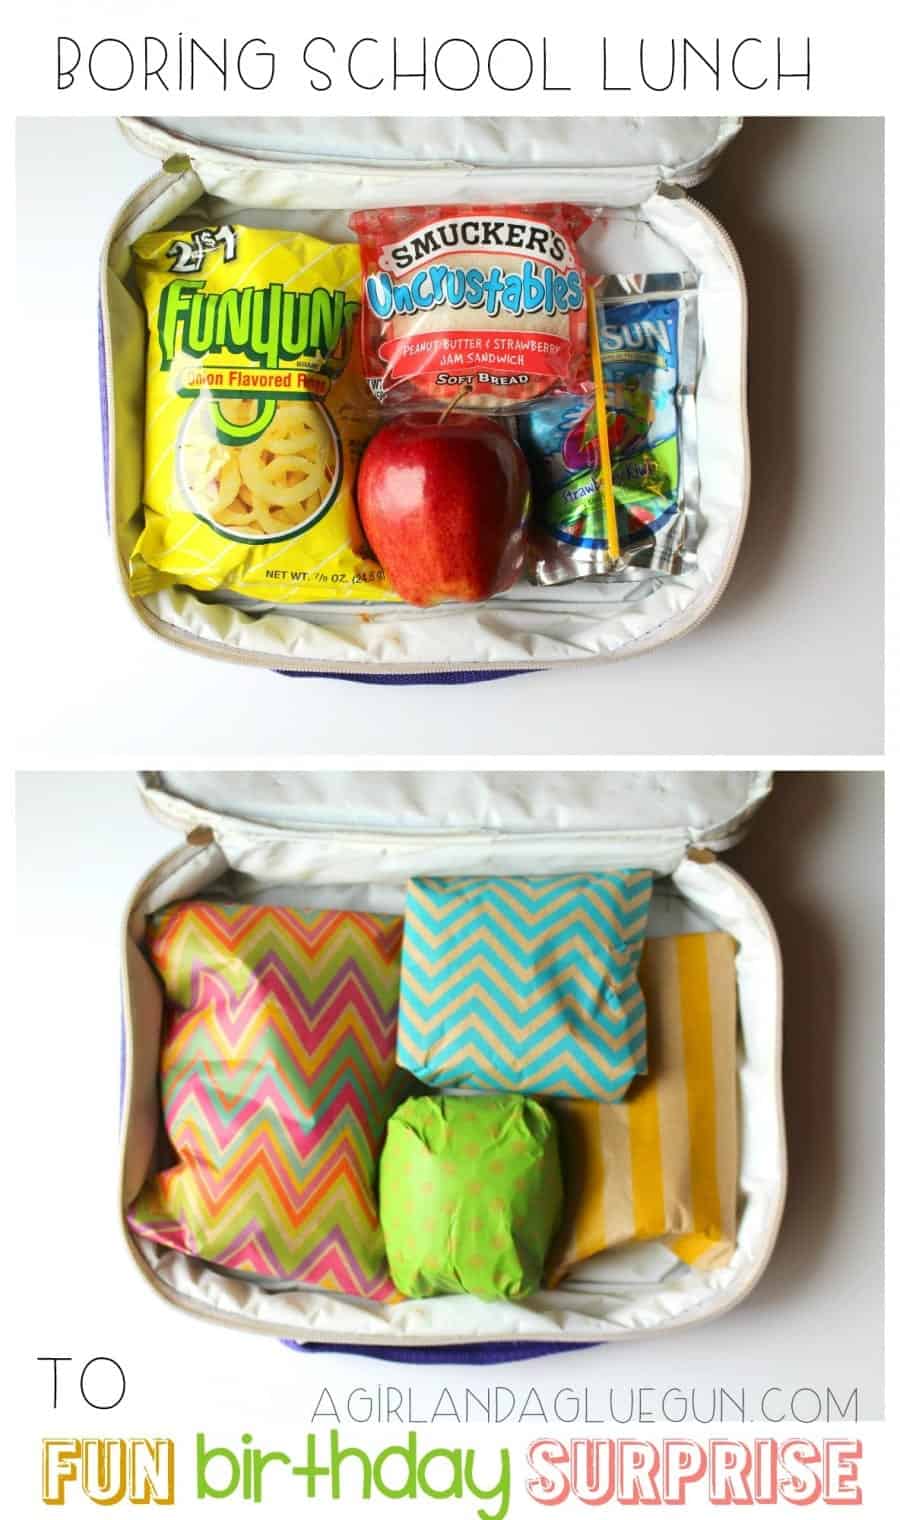
I was born in July...so I never had to go to school on my birthday! But two of my kids have school birthdays (how unfun to go to school ON your birthday!) So I ALWAYS try to make it as special as possible!   AND one of the things I do is a special birthday sack lunch!!! birthday sack lunch

I take their regular school lunch....and wrap it up.
great birthday present for kids during the school year


(a capri sun is a treat...they normally just get milk or water)
wrapped lunch for birthday school kids

You can add balloons, glitter, confetti, and make sure to throw in a cute happy birthday sign!

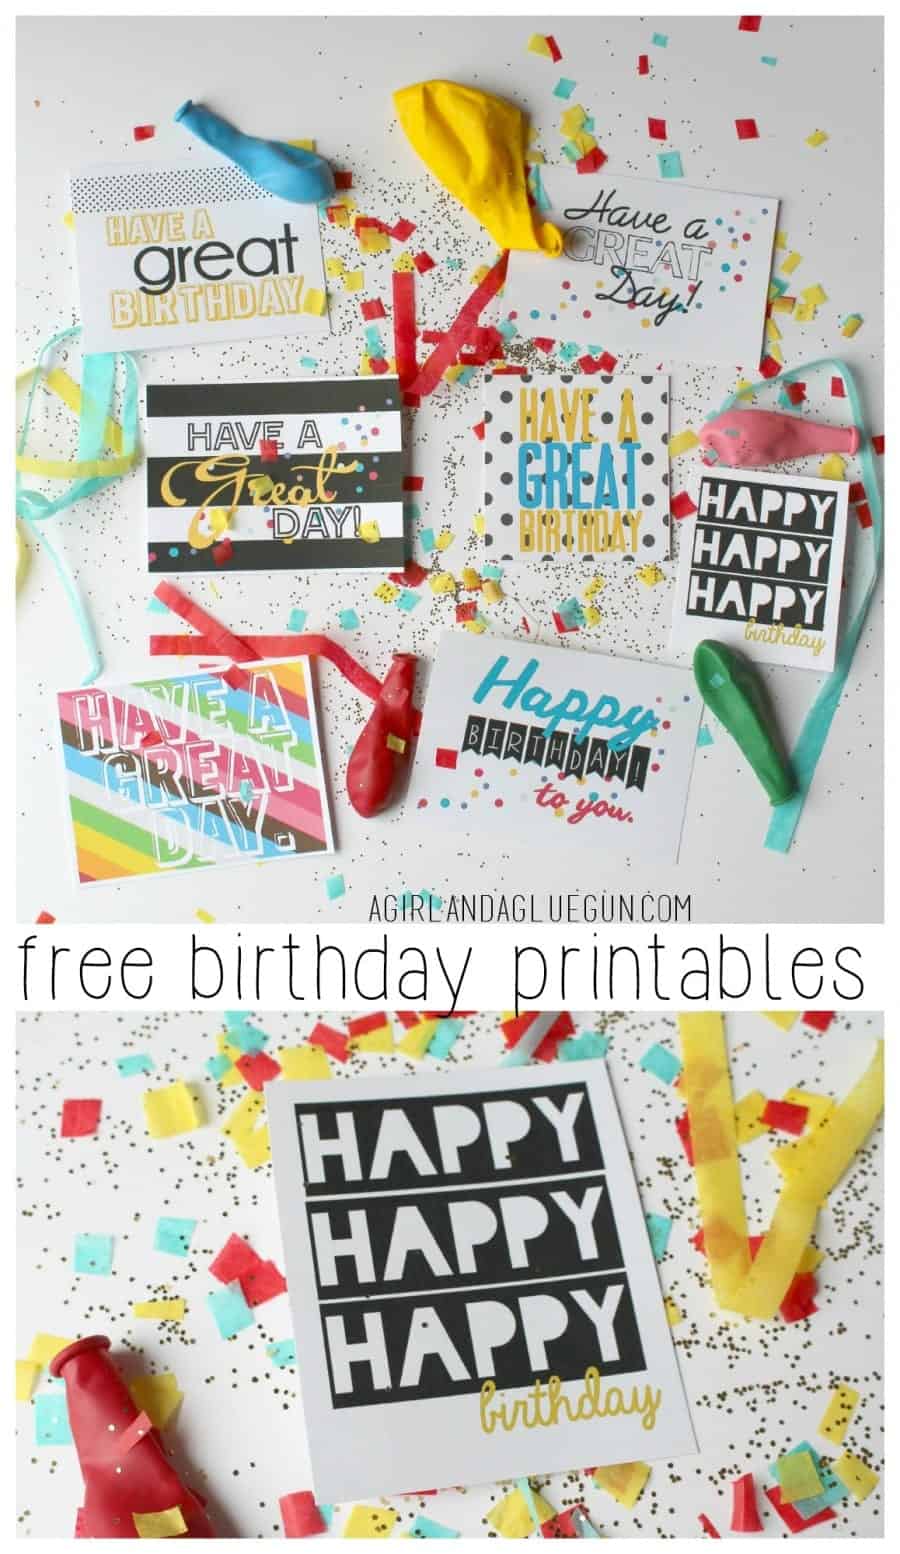
free birthday and have a great day tags printable

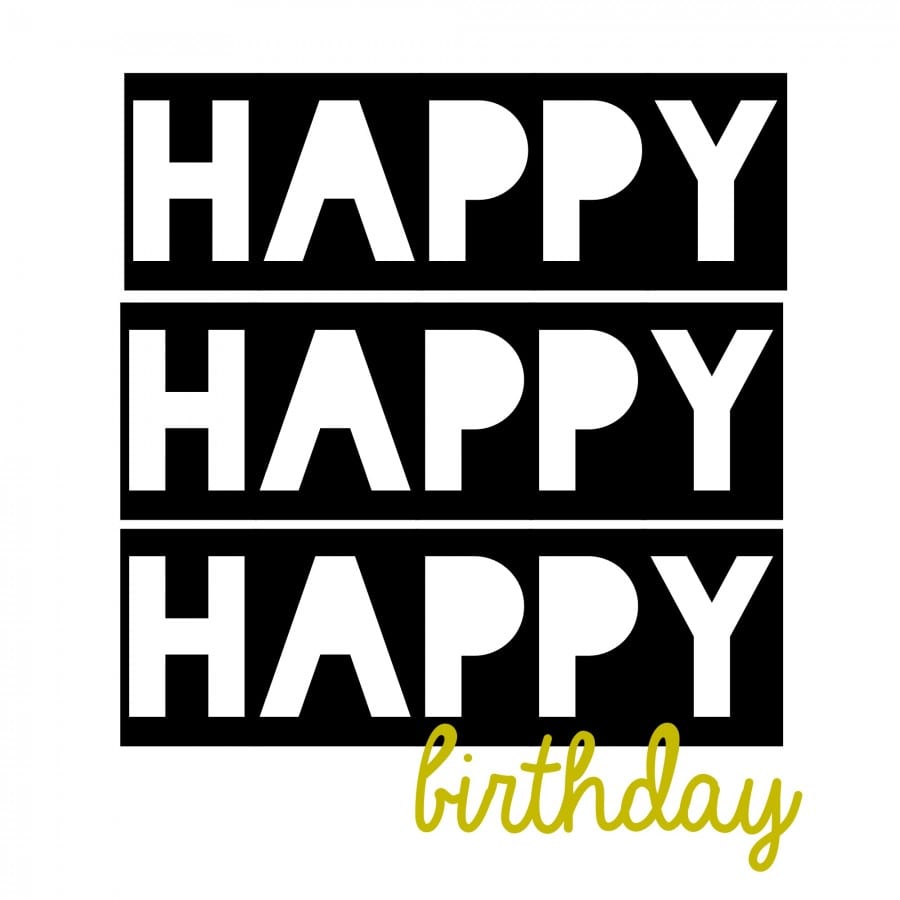
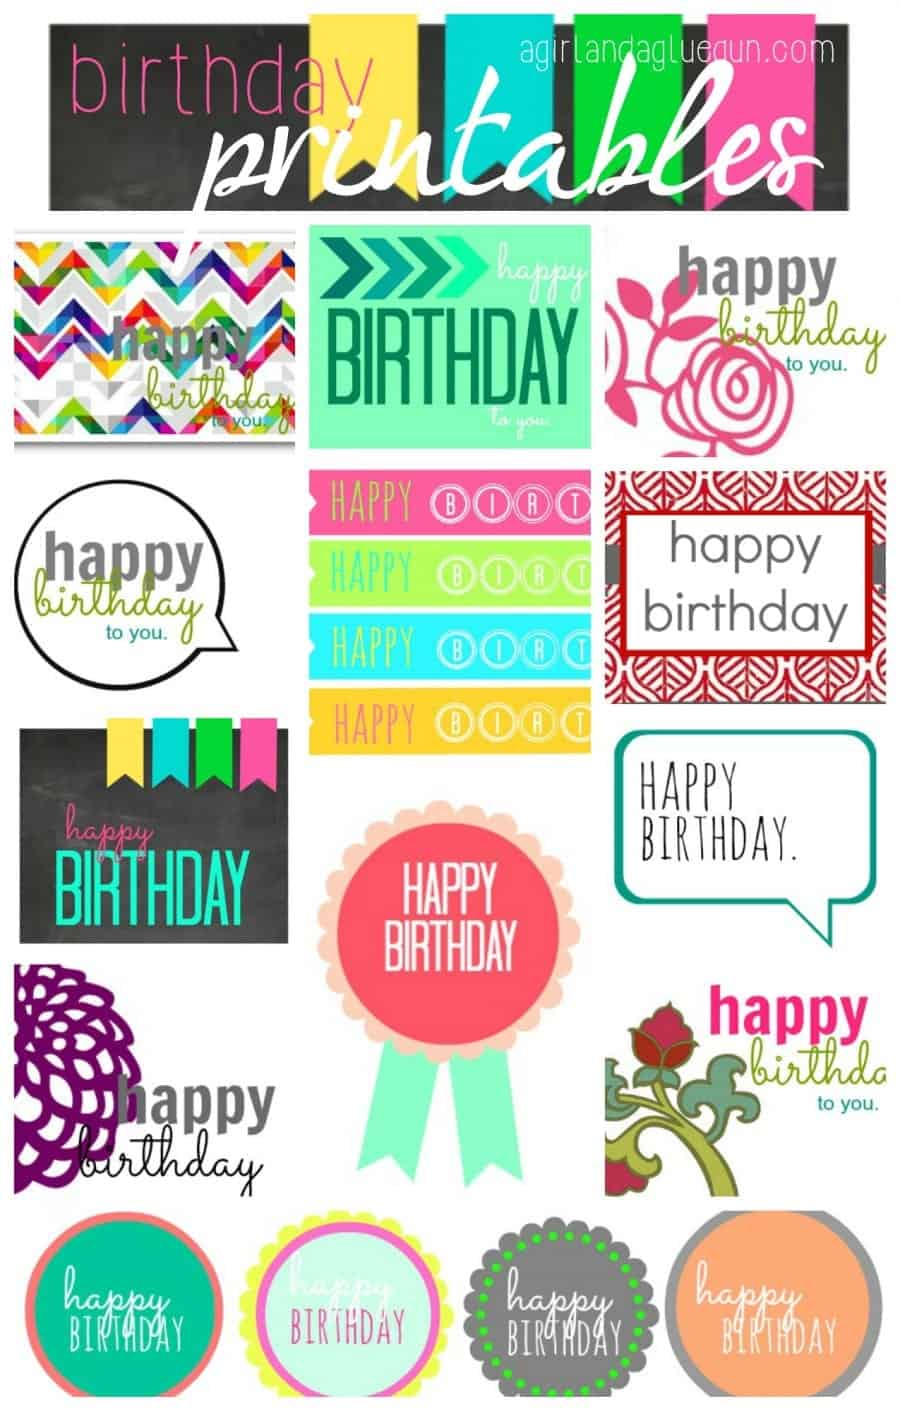
I've got all these fun birthday printables for you right here (just right click and save to your computer!!!)
I even added some generic have a great day....so you could do this anytime your kid needs a pick me up!!!

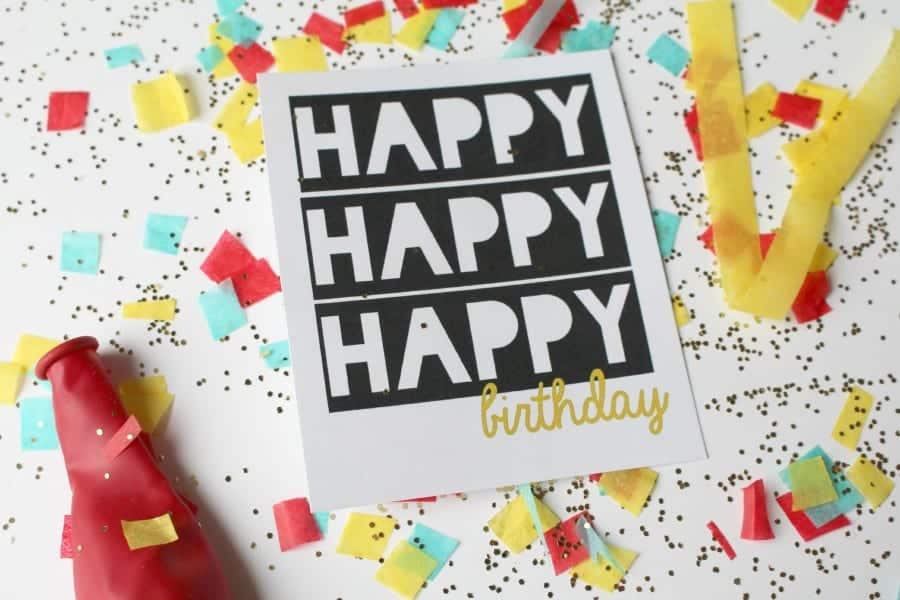
1 HAVE A GREAT DAY PRINTABLES free printables for birthdays happy birthday to you free printable --a girl and a glue gun.com happy happy happy birthday printablehave a great birthday free printable have a great day printablesfree printableshave a great birthday free printables


birthday printables


you can go HERE for more birthday printables!

free birthday printables!AND you can stalk me here:
thanks kimberly for having me on your blog!!!


Thanks Kimbo!  We've got no excuse but to be A+ moms this year.


*Be sure to check below for all the fun parties I link to!*

Wednesday, August 27, 2014

Call the doctor!


For Christmas last year I finally made mini some of the dress-ups I've been meaning to for, well, pretty much ever.

I made this pretend play dr. kit out of felt and lots of stuff I had around the house and just a few simple items I had to buy.  Everything about it is pretty simple, since I was on a limited schedule... but I think it came together well and she loves it.  If you've got a future physician on your hands, you might want to gift this kit too!


Here's the little dr. in all her glory:  The lab coat was the most time consuming part, but came together super easily since there was no need to hem anything (yea, felt!)


THE COAT:


I cut a front and back piece of the coat and the two sleeves (just as I did with the sweatshirt here).  
So, right sides together, I sewed the front and back together at the shoulders.  Then I sewed the sleeves to the coat around the curves.  I sewed up the sleeve seam and down the coat sleeve in one swoop.  It's like this tutorial.
I cut out a pocket shape and sewed a cross on, then just sewed the sides and bottom of the pocket to the front of the coat.  That's the nice thing about felt - no fraying.
I drew the lapel on felt as one piece, then, since I knew nothing would fray I just sewed it to the right side of the coat. It's kind of lame you can see the marker around the collar, but cest le vie, right?
I sewed a thin rectangle down the inside of the front of one side of the coat to reinforce right where the buttonholes would be.  I cut the buttonholes open but didn't sew them, you know, FELT.  Then I sewed buttons down the other side.
To finish it off, I sewed giant ric rac all around the lapel and bottom.  I love giant ric rac.  Actually, I love all ric rac.  
With no hemming, cheater sleeve sewing and completely faking the lapel, this came together much faster than anticipated.


THE KIT:


For the plastic box, I used one I had on hand.  It came with our couch and had leather polish in it.  Which I never used.  I used hot glue to glue on the white felt, cross and ric rac.
I included bandaids, medicine, an arm cast, a blood pressure cuff, a stethoscope, a syringe/shot, a plessor, and otoscope.

The bandaids might be my favorite part.  
For each bandaid, I cut two pieces of tan felt and a square of white felt.
I sewed the white square to one piece of tan felt, then sewed the other piece of tan felt to the opposite side.
For some of them I put some velcro circles on so they will stay closed around a finger or toe.  

For the blood pressure cuff, I used felt, ribbon and one of those nose suckers that they give you in the hospital for your newborn.
I used embroidery floss to stitch the details on the white circle, though I admit, I have no idea what the gauge on a BP cuff actually looks like.  Whoops.  Then I sewed it to the blue circle.
I cute two pink rectangles and sewed the blood pressure gauge and the fuzzy side of the velcro on one and the scratchy strips of velcro to the other one.  Then I sewed the two rectangles all around the outside edge with wrong sides together and the ribbon sandwiched between at about midpoint.
I hot glued the other end of the ribbon to the sucky bulb thing and then for reinforcement and to make it look better, I hot glued felt around that.

I might like the cast as much as the bandaids.
I cut two identical pieces of felt, using my arm as a reference and cutting a little smaller for the kids.  I cut a little thumb hole opening.
Then with white thread, I sewed across the bottom, top and around the thumb curve on both pieces separately.  Then I sewed slanted lines randomly across each piece to make it look like wrapped pieces of bandage.  
Then on one piece I stitched some names and messages with embroidery floss.  
Then I sewed alone the straight sides (not the thumb curve) to sew the pieces together.

I used a cheap headband, ribbon and felt for the stethoscope.
I wanted it to be even more fun, so I put some small beads in a tiny plastic box and enclosed it in the circle pieces of the stethoscope so it rattles when you use it.  The circle piece is just two white felt pieces with a cross sewn on one and the ribbon sandwiched in.
Then I wrapped the other end of the ribbon around the headband and sewed the end.
I wrapped two small pieces of felt around the ends of the headband and hot glued them on so that they'd be more comfy in the ears.

The medicine bottle was just a twist on vitamin bottle.  I put some beads in it and hot glued the lid on.  Then I wrapped it in felt and hot glued it.

I got a vintage wooden hammer on etsy (it's a play tool from a little vintage tool kit) to use as the plessor.  I used gorilla glue to keep the tinker toy pieces together to use as the otoscope.  Then I spray painted them white to match.

This mini clipboard is the last piece of the kit.  I decorated it with washi tape and attached the pencil with a ribbon so she wouldn't lose it.  Ha!  

She takes lots of notes about her patients.

And is quite devoted to making her patients well again.

Poor giraffe.

Here's a link to some awesome free printable doctor forms too!  I'm waiting until mini's older to print these out for her.  Otherwise they'll just get destroyed. 


*Be sure to check below for all the fun parties I link to!*